We use cookies to improve the services we offer you. By continuing to browse this site, you consent to keep them in accordance with our Privacy Policy.
×We use cookies to improve the services we offer you. By continuing to browse this site, you consent to keep them in accordance with our Privacy Policy.
×
 94
94
 8 min
8 min
Most of us spend a huge chunk of our week on camera now. Video calls, team standups, recorded tutorials, YouTube uploads, quick social clips. And yet, if you have ever caught a glimpse of your own thumbnail mid-meeting and thought “do I really look like that,” you are not alone.
Here is the good news. Looking good on camera has almost nothing to do with how photogenic you think you are, and almost everything to do with three things you can actually control: lighting, framing, and presence. Get those right and you will look sharper, more confident, and more professional, whether you are recording a course or just hopping on a Zoom call.
Let’s break down each one in plain, practical terms.
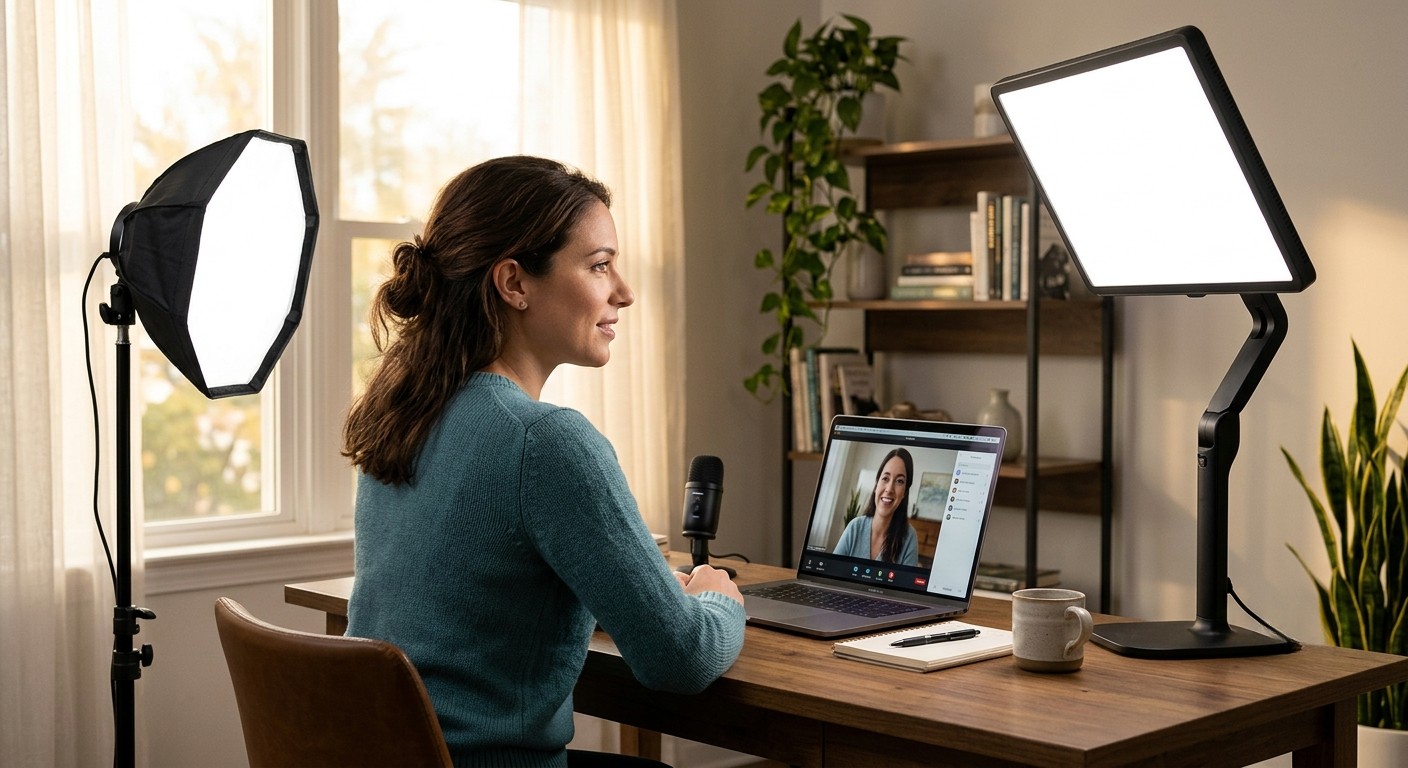
If you fix only one thing, fix your lighting. A cheap webcam with great lighting beats an expensive camera in a dark room every single time.
The most common mistake is sitting with a window or lamp behind you. The camera exposes for the bright background and turns you into a shadowy silhouette. Flip it around. Your main light source, whether that is a window, a lamp, or a proper key light, should be in front of you, facing your face.
If you use a window, sit facing it. Natural light is the most flattering and cheapest light source there is.
Light coming straight at your face flattens your features and can look harsh. Position your main light slightly off to one side, around a 45-degree angle, and slightly above eye level so it points gently down at you. This creates soft, natural shadows that give your face shape and depth.
If you want to go a step further, add a second, dimmer light on the opposite side to fill in the shadows. This “two-light” approach is what makes people look polished on professional streams, and you do not need expensive gear to pull it off.
A few quick technical pointers that make a real difference:
Ring lights are popular for a reason, they are cheap and give even, flattering light. One tip though: if you wear glasses, mount the ring light slightly above eye level and angle it down, otherwise you will see a distracting circular reflection in your lenses.
Once your lighting is dialed in, small tweaks make a big difference. If you want to understand why a window behind you ruins a shot, this breakdown from Imperial College London’s photography blog explains how a camera exposes for the brightest light in frame, which is exactly why backlighting turns your face into a silhouette.
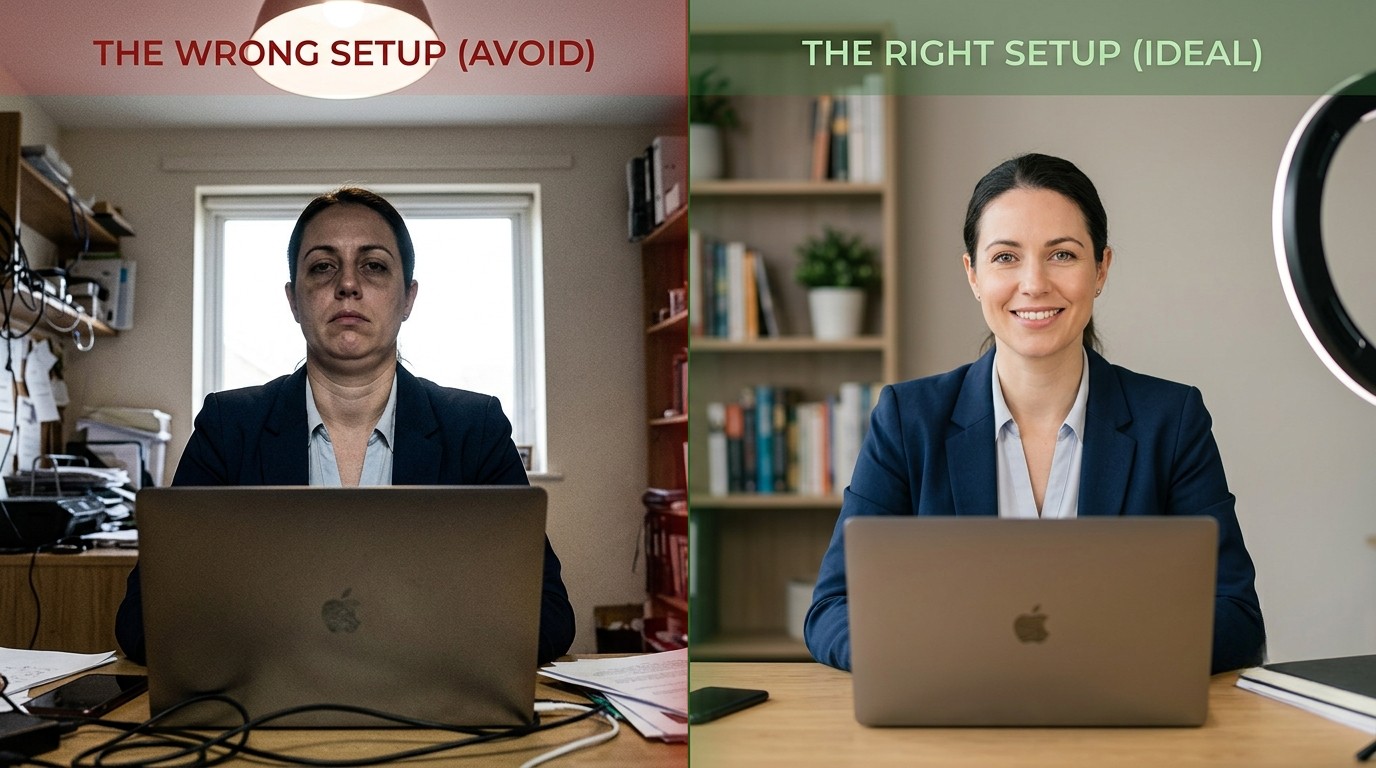
Good framing makes you look intentional and confident. Bad framing makes even a great setup look amateur.
This is the big one. If your laptop is flat on the desk, your webcam is pointing up at your chin and ceiling, which is nobody’s best angle. Prop your laptop up on a stand or a stack of books so the camera sits at or just slightly above eye level, then tilt it down a tiny bit, around 5 to 10 degrees. Instantly more flattering.
Do not center your face like a passport photo. Position your eyes roughly a third of the way down from the top of the frame, with a little space above your head. This is the rule of thirds, a composition principle photographers and cinematographers have used for over a century. Too much headroom makes you look small and far away. Too little makes it feel cramped.
Sit about two to three feet from the camera, close enough to feel connected, far enough that you are not looming. Behind you, keep it simple. A clean, uncluttered background keeps the focus on you. A little depth, like a plant or a lamp a few feet back, adds a nice professional touch without being distracting.

You can have perfect lighting and framing and still feel stiff on camera. Presence is what makes you watchable, and it is a skill, not a personality trait. Professional videographers spend years learning it. Many of the same on-camera instincts they rely on, covered well in these expert videography tips, apply just as much to a webcam as they do to a film set.
When you look at the other person’s face on your screen, you appear to be looking down or away. To make real “eye contact,” look directly into the camera lens. It feels unnatural at first, but it reads as confident and engaged to whoever is watching. As this guide on looking professional on video calls notes, glancing at the screen instead of the lens makes it look like you are staring off in the wrong direction.
A lot of people freeze up on camera because they have decided they just do not look good on video. If that is you, it helps to know that feeling is mostly a myth. Feeling unphotogenic usually comes down to unfamiliar angles, harsh lighting, and the plain discomfort of being on camera, not your actual face. Once you understand that, the pressure eases and you naturally loosen up.
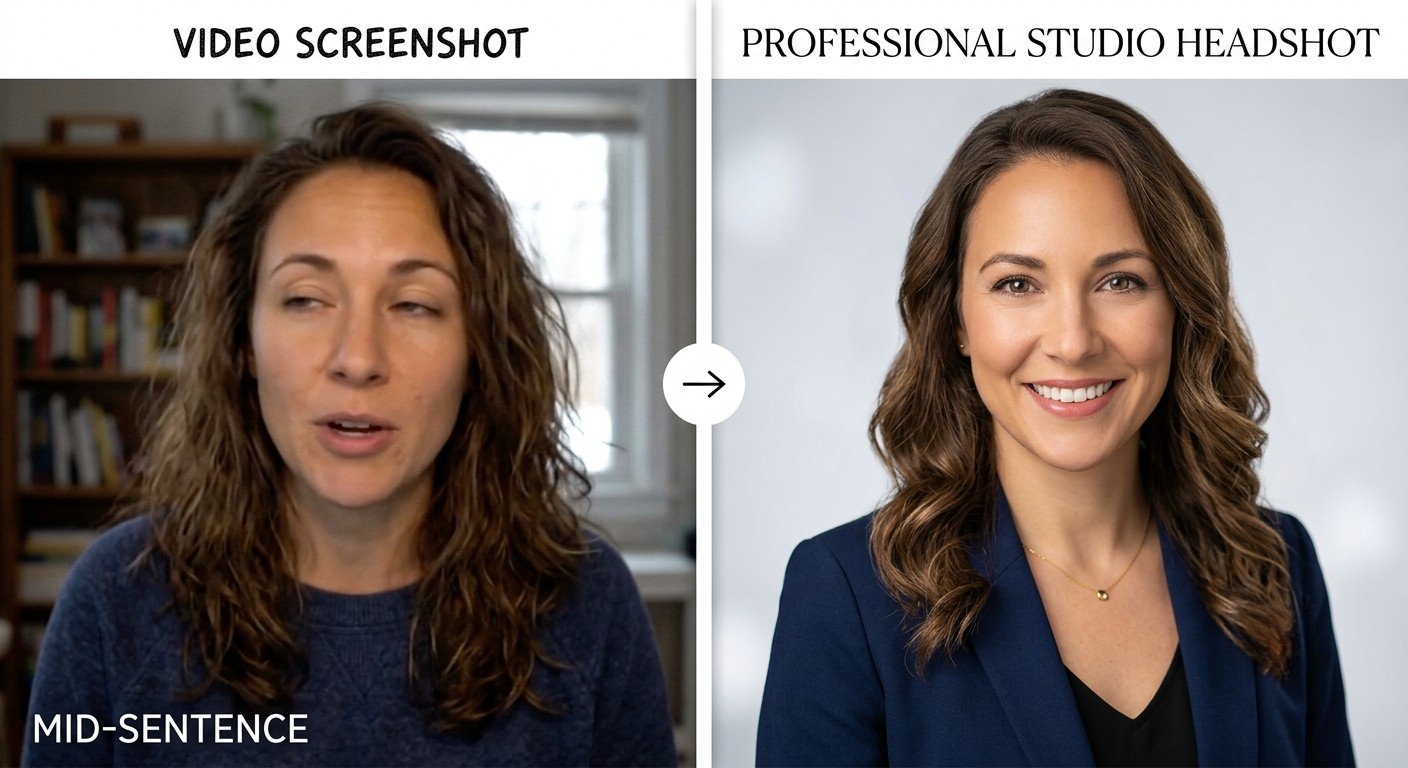
Every creator eventually needs a clean profile photo. A channel avatar, a LinkedIn picture, a speaker bio, a press kit. And pulling a flattering still frame out of video is genuinely hard, since a frame frozen mid-sentence rarely looks great.
If you film often but never seem to have a good photo of yourself, AI headshot tools have become a legitimate shortcut. You upload a few selfies and get back a set of professional-looking portraits, no studio booking required. Quality varies a lot between services, though, so it is worth comparing options on realism first. This roundup of the best AI headshot generators is a useful place to start, and tools like HeadshotPhoto are built specifically for turning ordinary selfies into clean, professional headshots.
You do not need a studio to look great on camera. You need light in front of your face, a camera at eye level, a tidy background, and enough comfort to relax and look into the lens. Start with lighting, since it does most of the heavy lifting, then fix your framing, then work on presence over time.
Set it up once, save your layout, and every call and recording after that gets easier. And if your on-camera work is heading toward something bigger, like a video podcast or a regular video series, these same fundamentals are the foundation everything else builds on. Future you, the one who no longer flinches at their own thumbnail, will be glad you did.