We use cookies to improve the services we offer you. By continuing to browse this site, you consent to keep them in accordance with our Privacy Policy.
×We use cookies to improve the services we offer you. By continuing to browse this site, you consent to keep them in accordance with our Privacy Policy.
×
 129
129
 10 min
VLC Media Player has a built-in frame-by-frame feature that lets you step through any video one frame at a time. It’s one of VLC’s most useful hidden tools – essential for capturing a specific frame as a screenshot, analyzing motion in slow footage, or finding the exact moment in a sports clip or tutorial where something happens.
There are two ways how to go frame by frame in VLC: the E keyboard shortcut (works on Windows, Mac, and Linux) and the Advanced Controls button (Windows only). One important limitation applies to both: VLC only steps forward – there is no native reverse frame-stepping. This guide covers both methods and how to customize the hotkey.
This is the fastest and most universal method. The E key is the default VLC hotkey for Next Frame. It works on every platform – Windows, Mac, and Linux – with any video file.
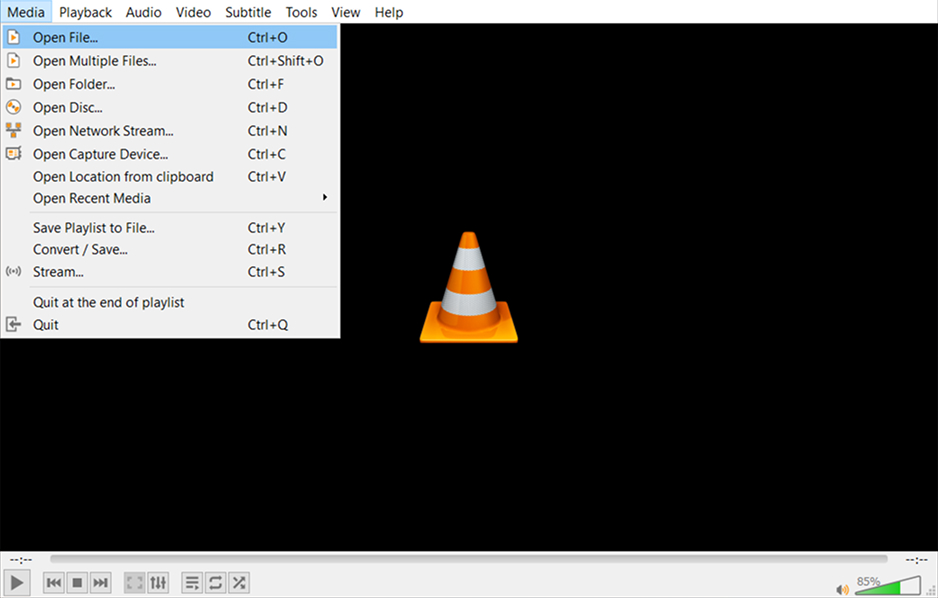
Launch VLC Media Player on your PC or Mac. Click Media → Open File and select the video file you want to step through frame by frame. The video begins playing automatically. You can also right-click any video file in File Explorer or Finder and choose Open with → VLC media player.
With the video open (playing or paused), press the E key on your keyboard. If the video was playing, VLC pauses it and steps forward exactly one frame. You’ll see Next frame displayed in the top-right corner of the video window confirming the action. Keep pressing E to advance one frame at a time. Press Spacebar to resume normal playback at any point.
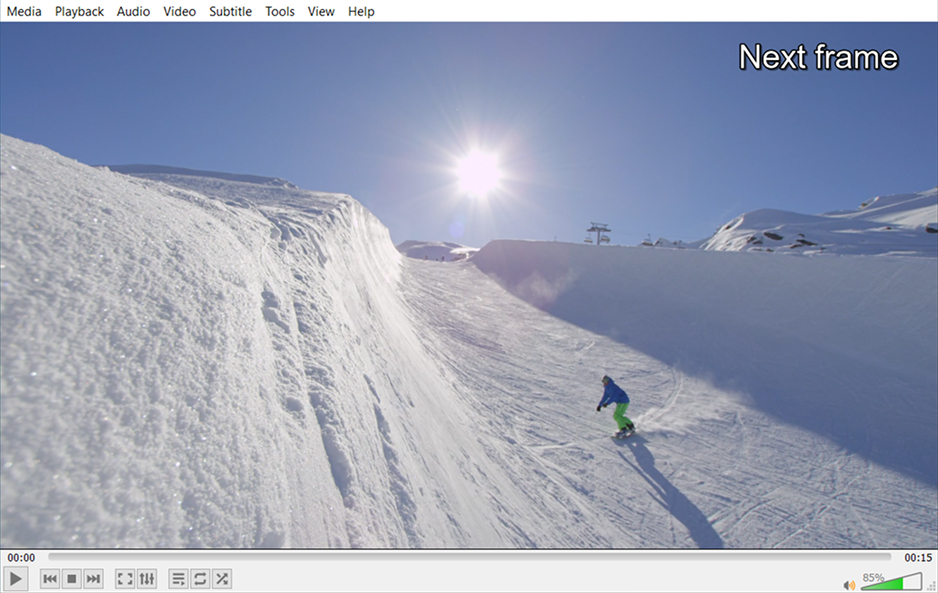
The frame-by-frame feature works on any video file that VLC can play. VLC’s broad format support means you can step through nearly any video file type:
| Input Formats – VLC Media Player |
| MP4 / M4V (MPEG-4) |
| MKV (Matroska Video) |
| AVI (Audio Video Interleave) |
| MOV (Apple QuickTime) |
| WMV / WMA (Windows Media) |
| FLV / F4V (Flash Video) |
| MPEG-1, MPEG-2, MPEG-TS |
| 3GP / 3G2 (Mobile video) |
| WebM / VP8 / VP9 |
| OGG / OGV |
| VOB (DVD Video) |
| HEVC / H.265 |
| MP3, AAC, WAV, FLAC (audio – frame stepping not applicable) |
If you prefer clicking a button over using a keyboard shortcut, VLC’s Advanced Controls bar includes a dedicated Frame by Frame button. This option is only available on Windows – it does not appear in the macOS version of VLC.
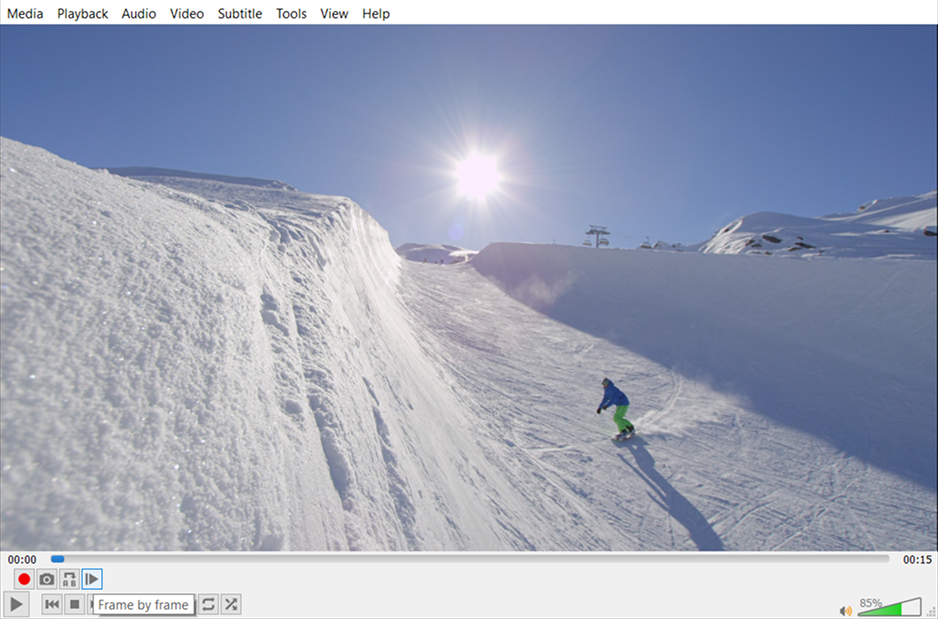
In VLC’s menu bar, click View and select Advanced Controls. A checkmark appears next to it. A new row of controls appears directly above the default playback bar – you’ll see a red Record button, a loop button, an A-B repeat button, and the Frame by Frame button on the far right (it looks like a film frame with a forward arrow).
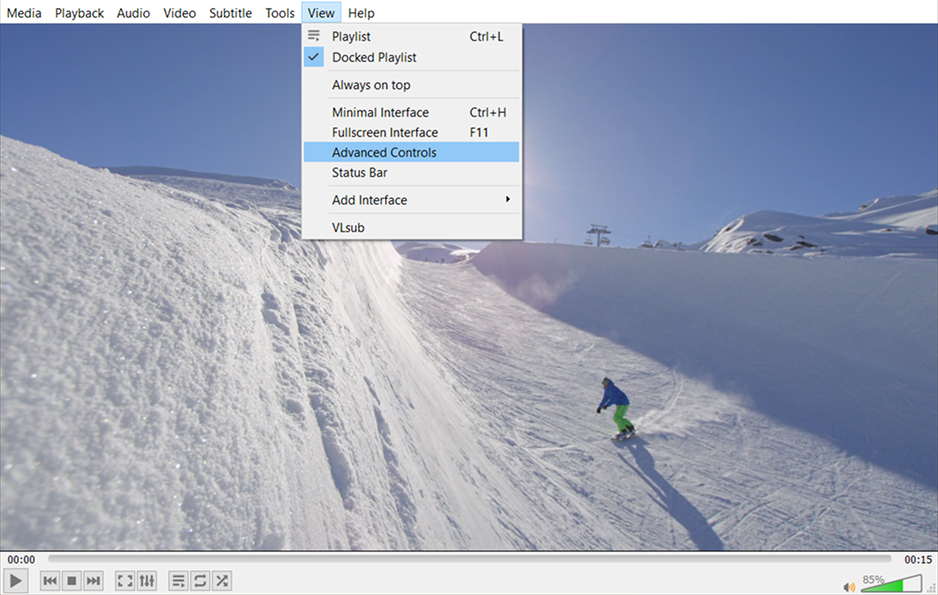
Open your video file via Media → Open File and play the video until you reach the approximate area you want to examine. Pause the video. Then click the Frame by Frame button in the Advanced Controls bar. Each click advances the video by exactly one frame. The button looks like two overlapping film strips or a play button with a vertical line to its left. Click it repeatedly to step through the video frame by frame at your own pace.
Although the frame-by-frame feature is for viewing, if you want to save a specific frame as a screenshot or export a clip after frame-stepping to the right point, VLC supports the following output formats:
| Output Formats – VLC Media Player |
| PNG (snapshot – default screenshot format in VLC) |
| JPEG / JPG (snapshot – configurable in Tools → Preferences → Video) |
| MP4 / M4V (via Convert/Save + Record feature) |
| MPEG-TS (Transport Stream – via Convert/Save) |
| WebM, OGV, ASF – via Convert/Save profiles |
| MP3, AAC, WAV – audio-only via Convert/Save |
Tip: To save a specific frame as a screenshot while stepping through the video, press Shift + S on Windows / Linux (or Cmd + Option + S on Mac) once you’ve reached the right frame. The PNG snapshot is saved automatically to your Pictures folder.
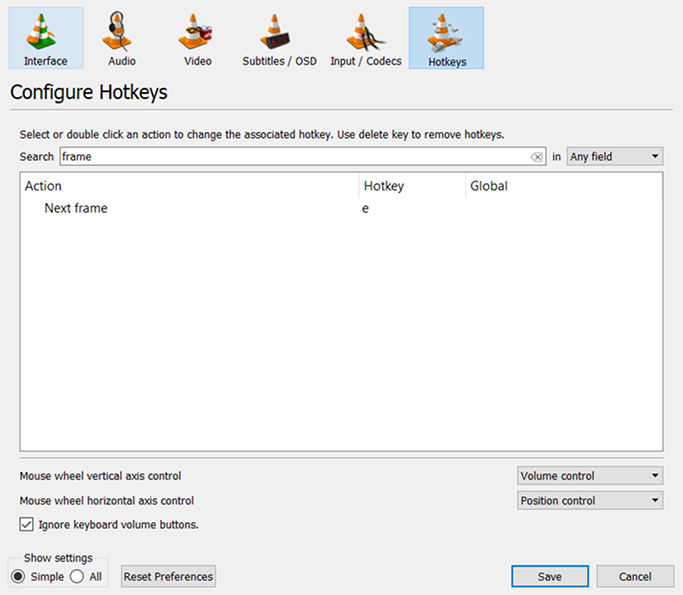
If the E key is already used by another application or you prefer a different key, you can reassign the Next Frame hotkey in VLC. Go to Tools → Preferences, click the Hotkeys tab, and type “frame” in the search box. Double-click on Next frame in the results list. Press the new key you want to assign (for example, Right arrow or F), then click Save. Restart VLC if the change doesn’t apply immediately.
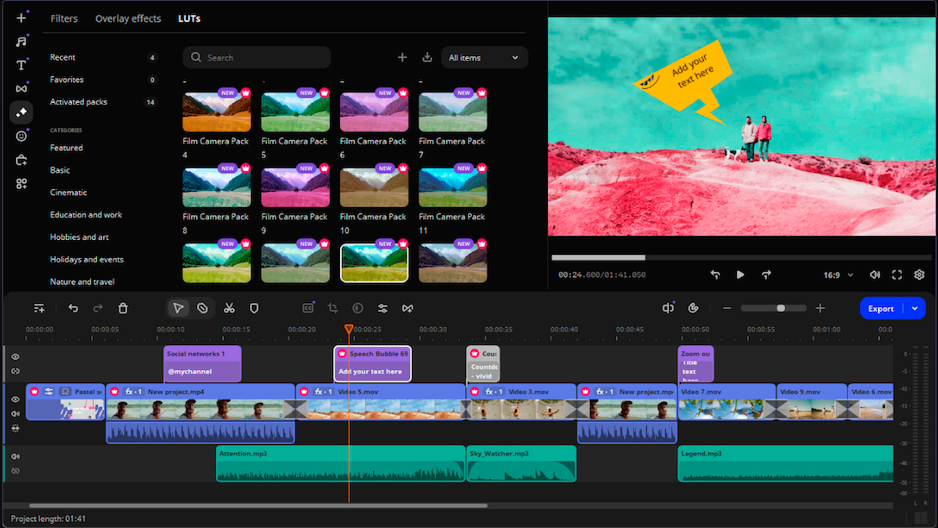
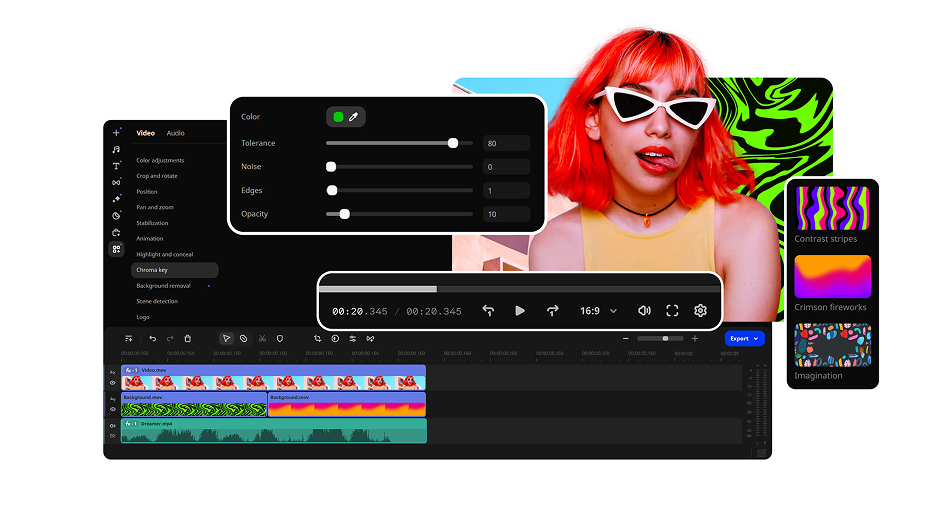
Movavi Video Editor is the practical alternative for anyone who needs frame-by-frame navigation that goes both forward and backward – something VLC doesn’t support. The built-in preview player has dedicated Go to the previous frame and Go to the next frame buttons, giving you full bidirectional control on both Windows and Mac.
Beyond frame stepping, Movavi is a complete video editing software: trim clips on the timeline, color-correct footage, add transitions and titles, denoise audio, and export in 60+ formats – all in one tool. The 7-day free trial unlocks every feature before any payment is required. The paid version removes the trial watermark and all limitations.
Save on Movavi Video Editor
Use a Movavi promo code to get a discount on your license. Check current promo codes →
⬇ Download for Windows | ⬇ Download for Mac
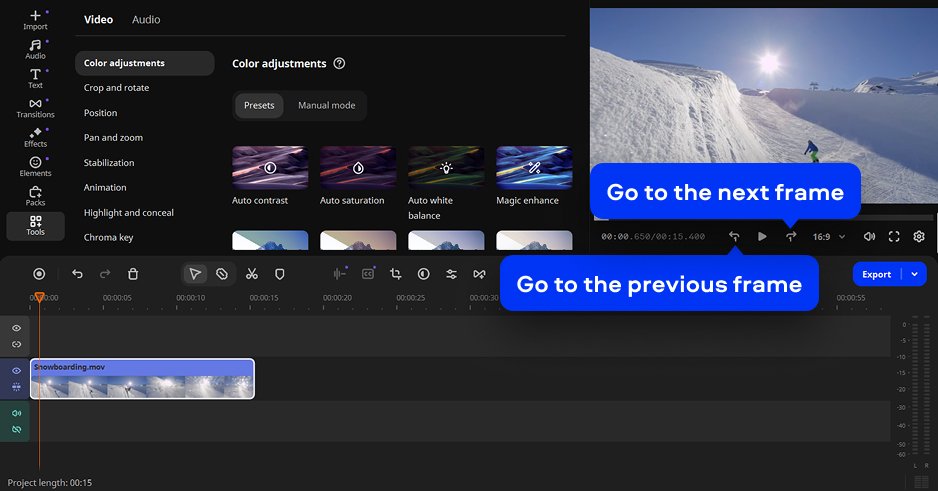
Movavi’s frame stepping works through the preview player – no separate settings to configure, and both forward and backward are supported out of the box.
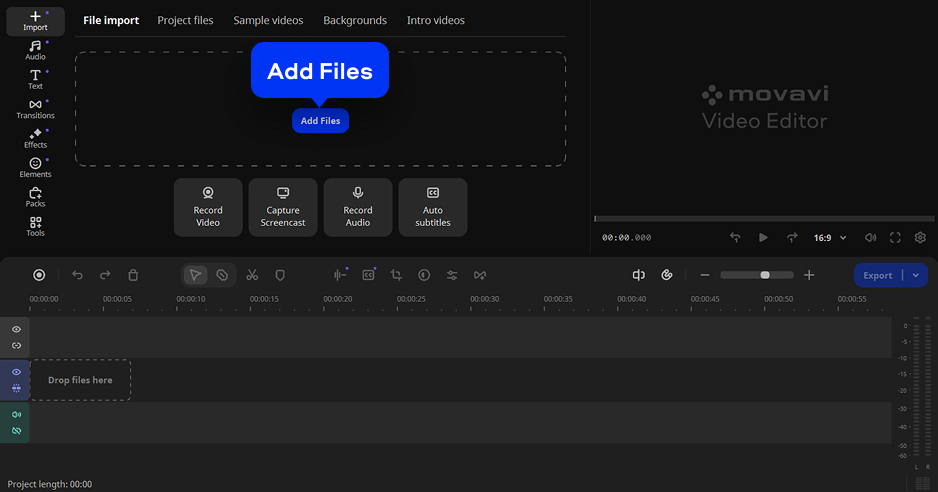
Download Movavi Video Editor for Windows or Mac and run the installer. Open the app and click Add Files to import the video file you want to step through. Drag the clip from the Project files panel onto the Timeline at the bottom of the screen.
Look at the control row directly below the preview window. You’ll see the Go to the previous frame button and the Go to the next frame button. Click either button to move exactly one frame in the chosen direction. The timecode display below the preview updates with each click, showing you the current frame position. You can also use the keyboard shortcuts Left arrow (back one frame) and Right arrow (forward one frame) while the timeline or preview is focused.
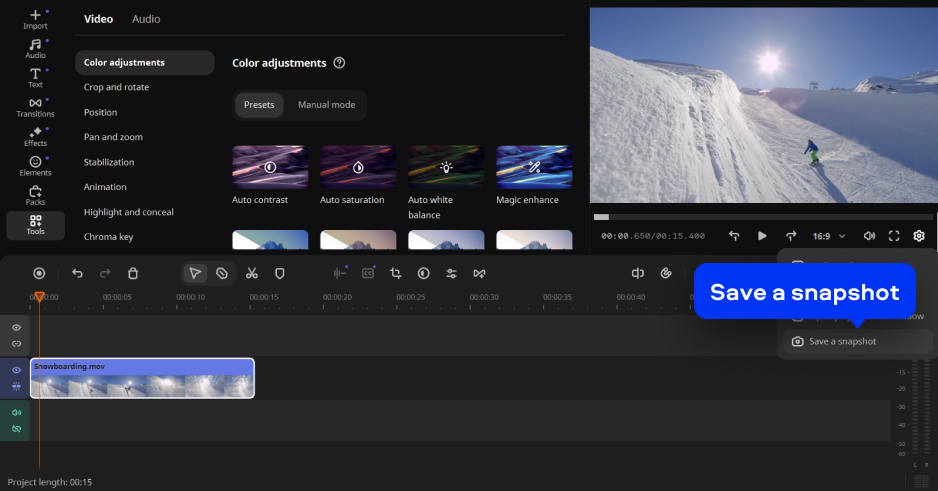
When you’ve stepped to the exact frame you want, click the Camera icon in the preview controls to capture a snapshot of that frame as a PNG file. Movavi saves the snapshot to the location set in your Preferences (default: Pictures folder). If you want to export a short clip starting from that frame, use the playhead to set an in-point on the Timeline and trim from there before clicking Export.
Both methods how to go frame by frame in VLC are quick: press E on any platform for the fastest keyboard shortcut, or enable View → Advanced Controls on Windows for the on-screen button. The key limitation is that VLC only steps forward – there’s no backward frame navigation in the current version.
If you need to step backward through frames, or if you’re working on a file where you’re also trimming, color-correcting, or exporting specific clips, Movavi Video Editor’s bidirectional frame stepping is the cleaner tool for the job – available as a free trial on Windows and Mac.
Yes – VLC has a built-in frame-by-frame feature. The easiest method is to press the E key on your keyboard while a video is open. Each press of E advances the video by exactly one frame and displays “Next frame” in the top-right corner. On Windows, you can also enable View → Advanced Controls to get an on-screen Frame by Frame button. One limitation: VLC can only step forward – there is no built-in backward frame stepping. If you need to reverse-step frames, use Movavi Video Editor, which includes both forward and backward frame navigation.
In VLC, the standard method how to go frame by frame is to open a video file and press the E key to advance one frame at a time. If the video is playing, E pauses it and steps forward. Keep pressing E to continue stepping. On Windows you can also use the Advanced Controls bar (View → Advanced Controls). In Movavi Video Editor, use the arrow keys or the Go to the previous / next frame buttons in the preview player to go frame by frame in both directions. In QuickTime on Mac, press Right arrow to advance one frame while paused. In Windows Media Player, this feature isn’t available – you’d need VLC or a video editor.
If VLC closes unexpectedly, the most common causes are:
The default hotkey for frame-by-frame (Next Frame) in VLC is E. This advances the video by one frame each time you press it. There is no default hotkey for Previous Frame in standard VLC – backward frame stepping isn’t supported natively. To change the E key to a different key, go to Tools → Preferences → Hotkeys, search for frame, double-click Next frame, and press your preferred key. Save the change. Related shortcuts: Shift + S takes a snapshot on Windows; Spacebar toggles pause/play; Ctrl + T jumps to a specific time – useful for backing up 1–3 seconds if you overshoot the frame you need.