We use cookies to improve the services we offer you. By continuing to browse this site, you consent to keep them in accordance with our Privacy Policy.
×We use cookies to improve the services we offer you. By continuing to browse this site, you consent to keep them in accordance with our Privacy Policy.
×
 46
46
 10 min
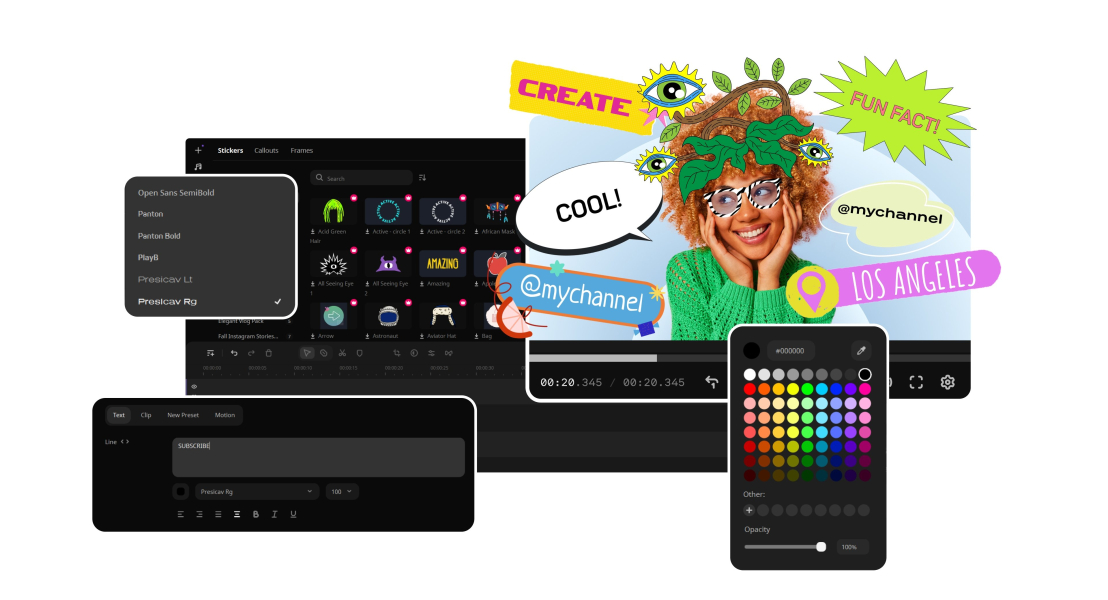
Learning how to add text in iMovie unlocks one of the most used video-editing features on Mac – text overlays, lower-third name labels, subtitle-styled captions, and opening title cards. iMovie’s Titles tab on Mac includes close to 50 styles, all customizable for font, size, color, and duration.
One important thing to know upfront: all text in iMovie comes with some form of animation – there is no plain static text overlay with no movement at all. The closest to a non-animated style is Lower Third or Standard. iMovie also does not support SRT subtitle file import; every caption must be typed manually.
The Mac version of iMovie gives you the most control over text styling and placement. Follow these steps to add text to iMovie on any Mac running macOS Ventura or later.
Open iMovie on your Mac. To create a new project, click File → New Movie. Then click Import Media and select your video file. Drag the clip from the Project Media browser down onto the timeline. iMovie supports MP4, MOV, and most common video formats.
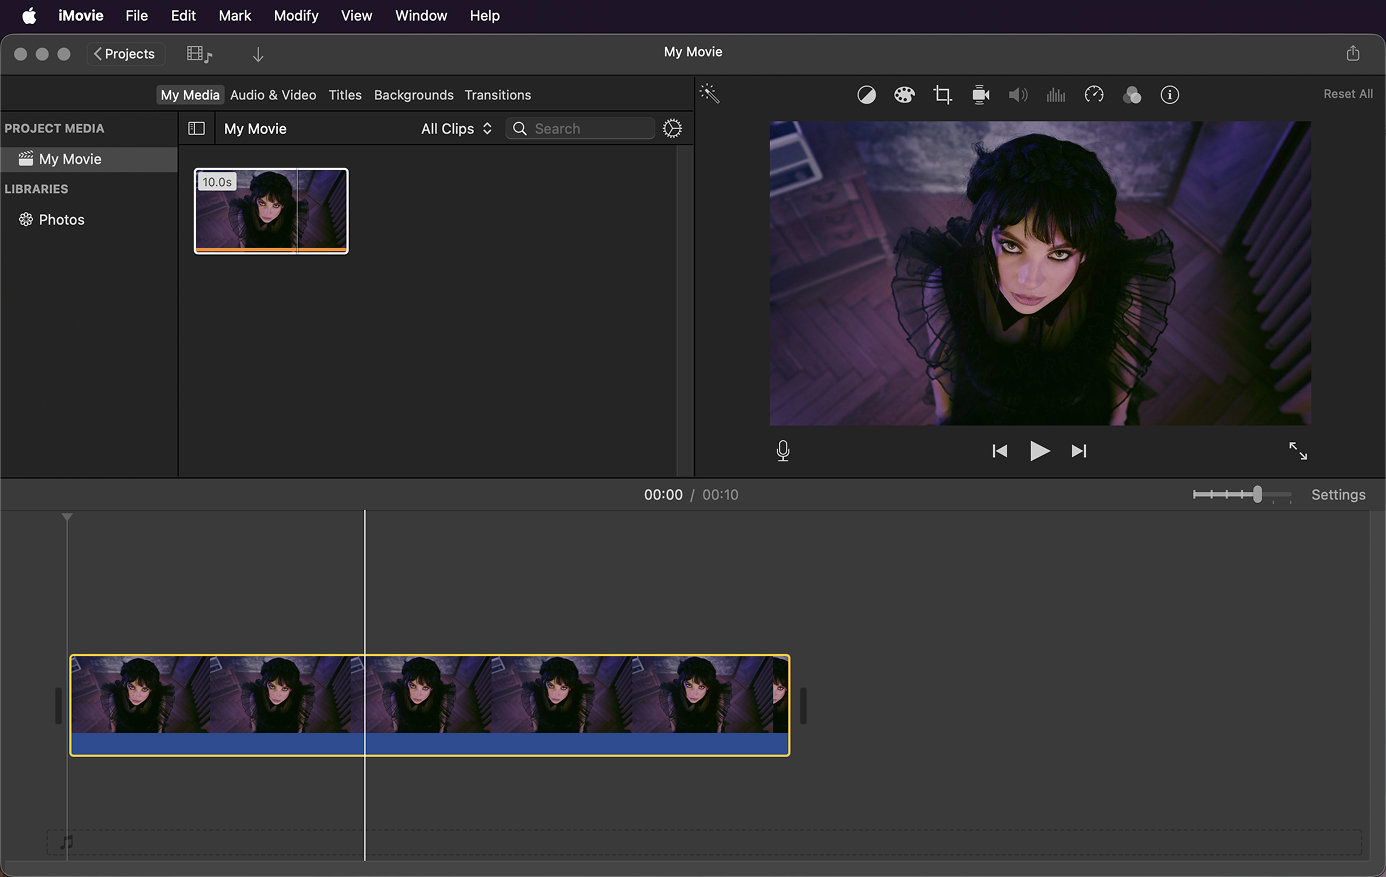
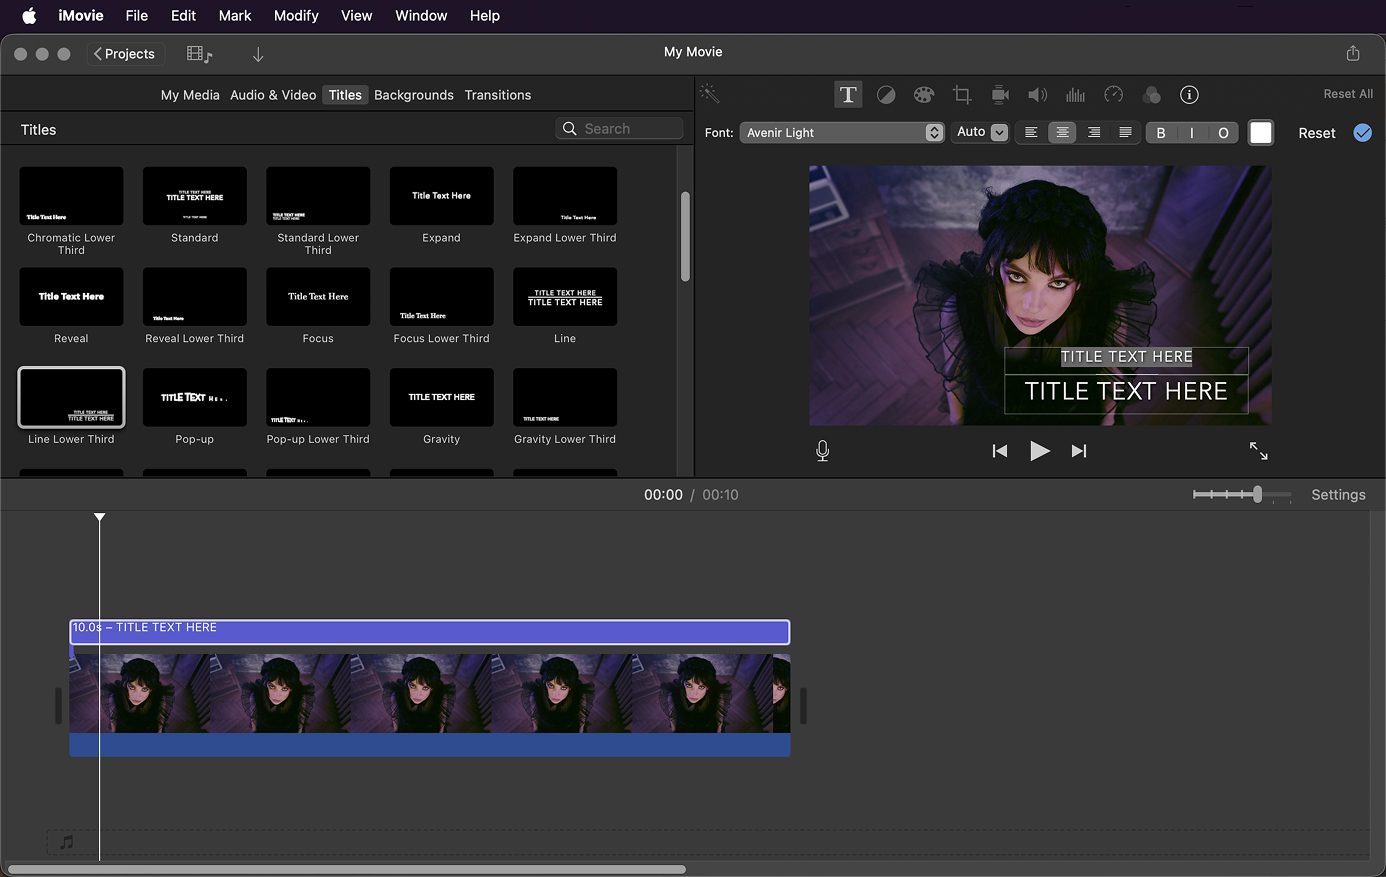
In iMovie’s toolbar – the top row above the browser panel – click Titles. The Titles browser opens showing thumbnail previews of all available text styles. Hover over any thumbnail to see a live preview in the viewer. For a non-animated look, scroll to find Lower Third or Standard – these have minimal motion compared to the more theatrical animated styles.
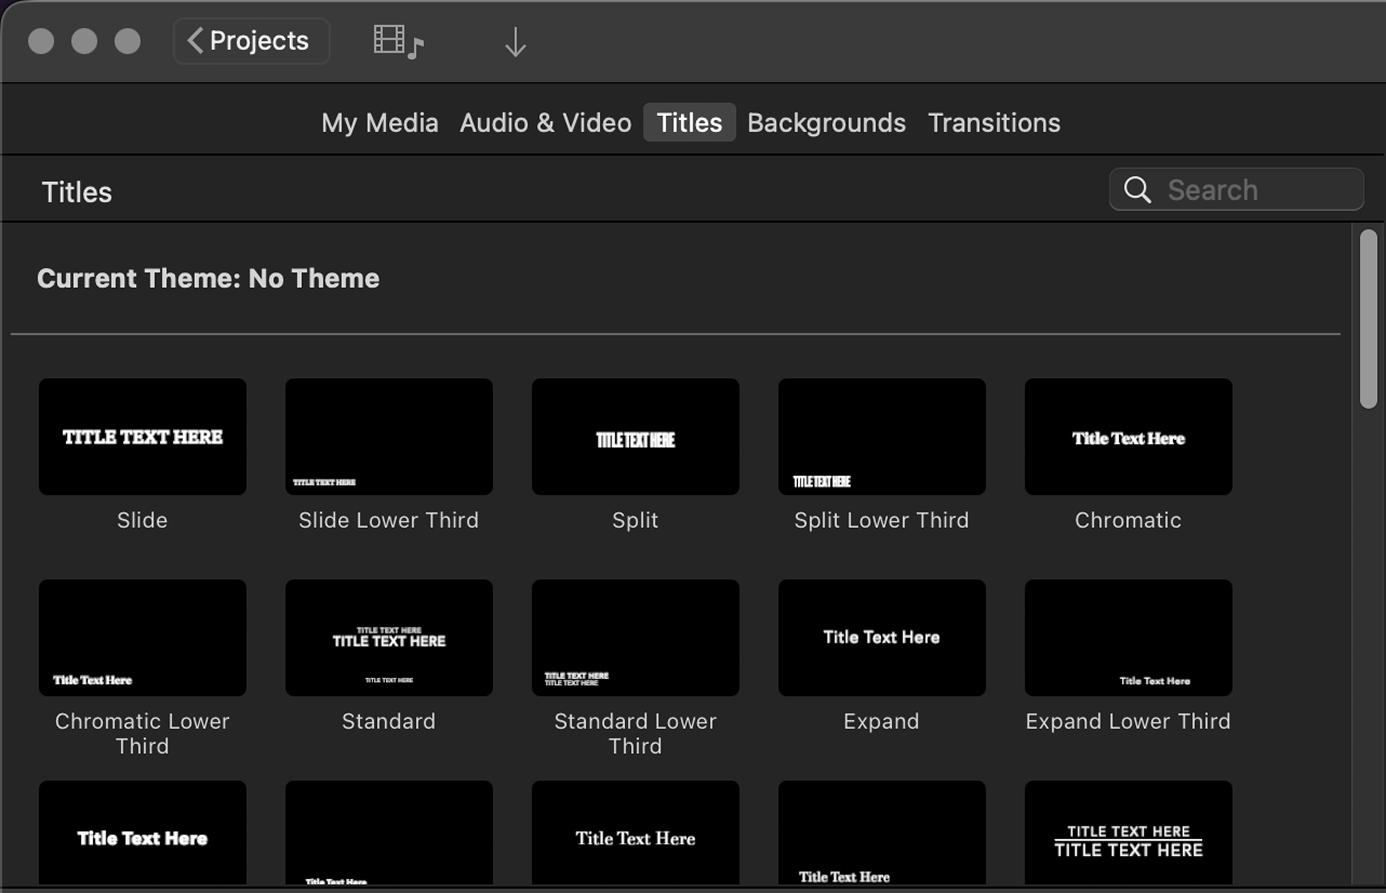
Drag the title style you want from the Titles browser and drop it onto the video clip in the timeline at the position where you want the text to appear. A purple title bar appears on top of the video clip in the timeline. Its default duration is 4 seconds; you can change this by dragging the edges of the purple bar left or right. The title is linked to the clip it was dropped onto – if you move the clip, the title moves with it.
iMovie accepts these video and audio formats for the project that text will be added to. Text itself has no import format – it is always entered manually:
| Input formats – iMovie (Mac) |
| MP4 (H.264 and H.265/HEVC) |
| MOV (QuickTime) – all codecs |
| M4V (iTunes video format) |
| MKV – H.264 content usually works |
| AVI – limited support |
| AVCHD / MTS / M2TS (camcorder footage) |
| 3GP / 3GPP (mobile video) |
| DV (Digital Video tape) |
| 4K / ProRes (from Apple devices) |
| Audio: MP3, M4A, AAC, WAV, AIFF |
| NOT supported: SRT subtitle files – all captions must be typed manually |
Double-click the purple Title bar in the timeline. The title appears in the preview window with a text field highlighted for editing. Type your text directly into the field. If the title style has multiple text fields (e.g., a name and a role in a Lower Third), press Tab to move to the next field and type there. Click the Apply button (blue checkmark) that appears above the preview when you’re done editing to lock in the text.
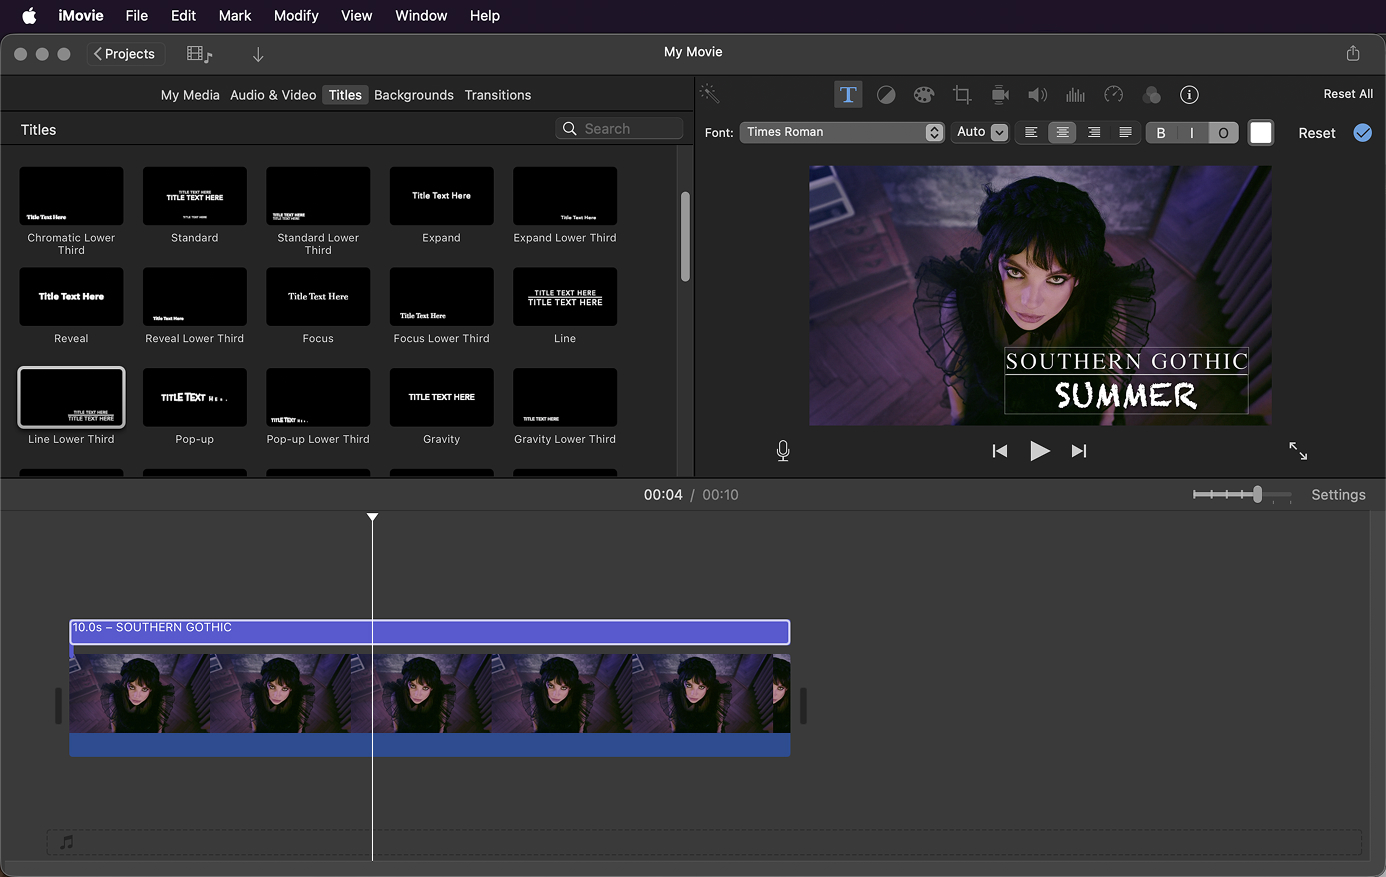
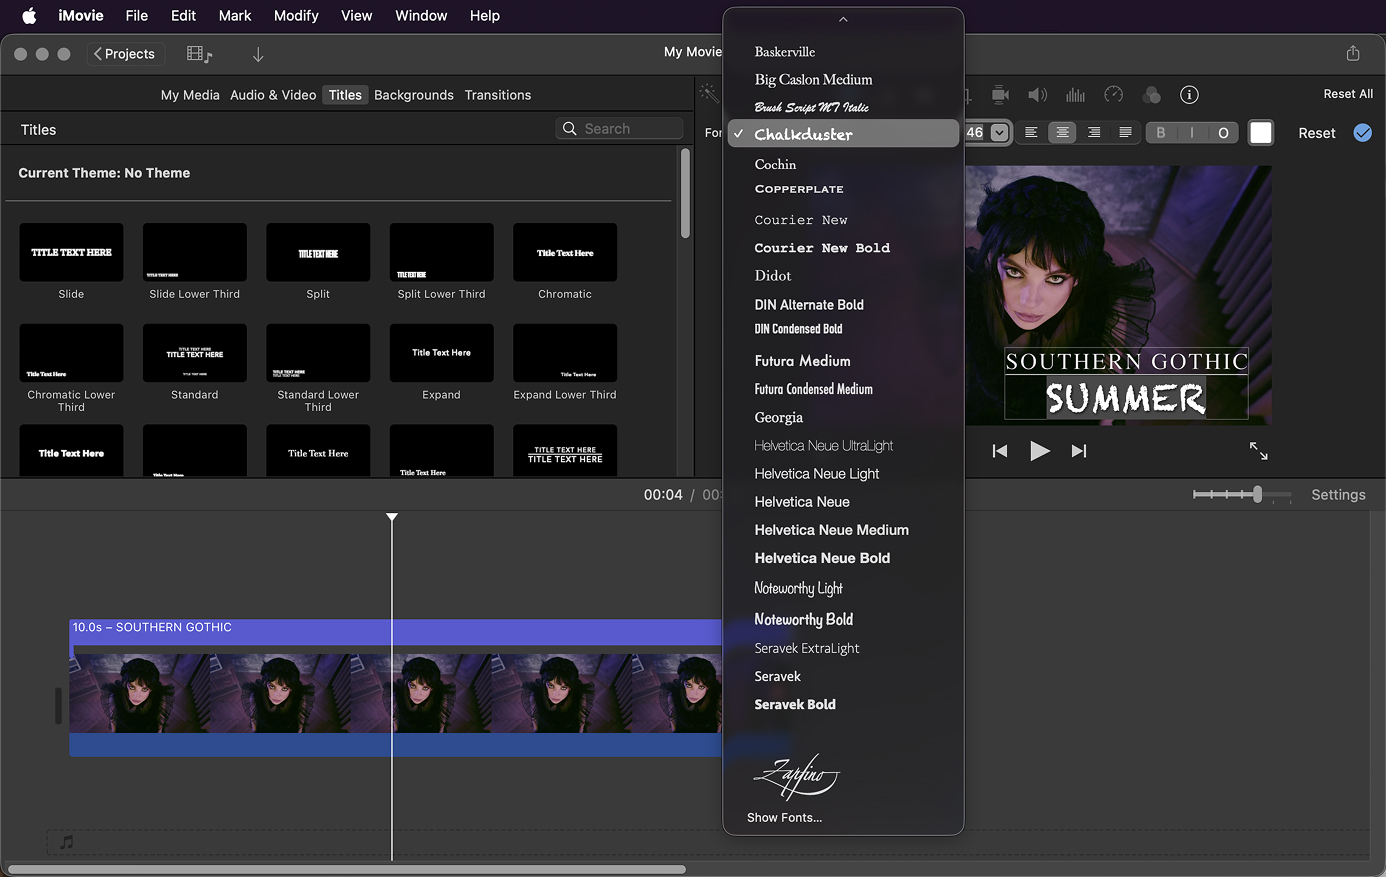
With the title still selected in the timeline, the text formatting toolbar appears above the preview window. Use it to: change the font via the Font dropdown; adjust the size via the Size dropdown; change color by clicking the color swatch; apply bold, italic, or outline; and set text alignment (left, center, right). These controls are only visible when a title is selected in the timeline and in edit mode.
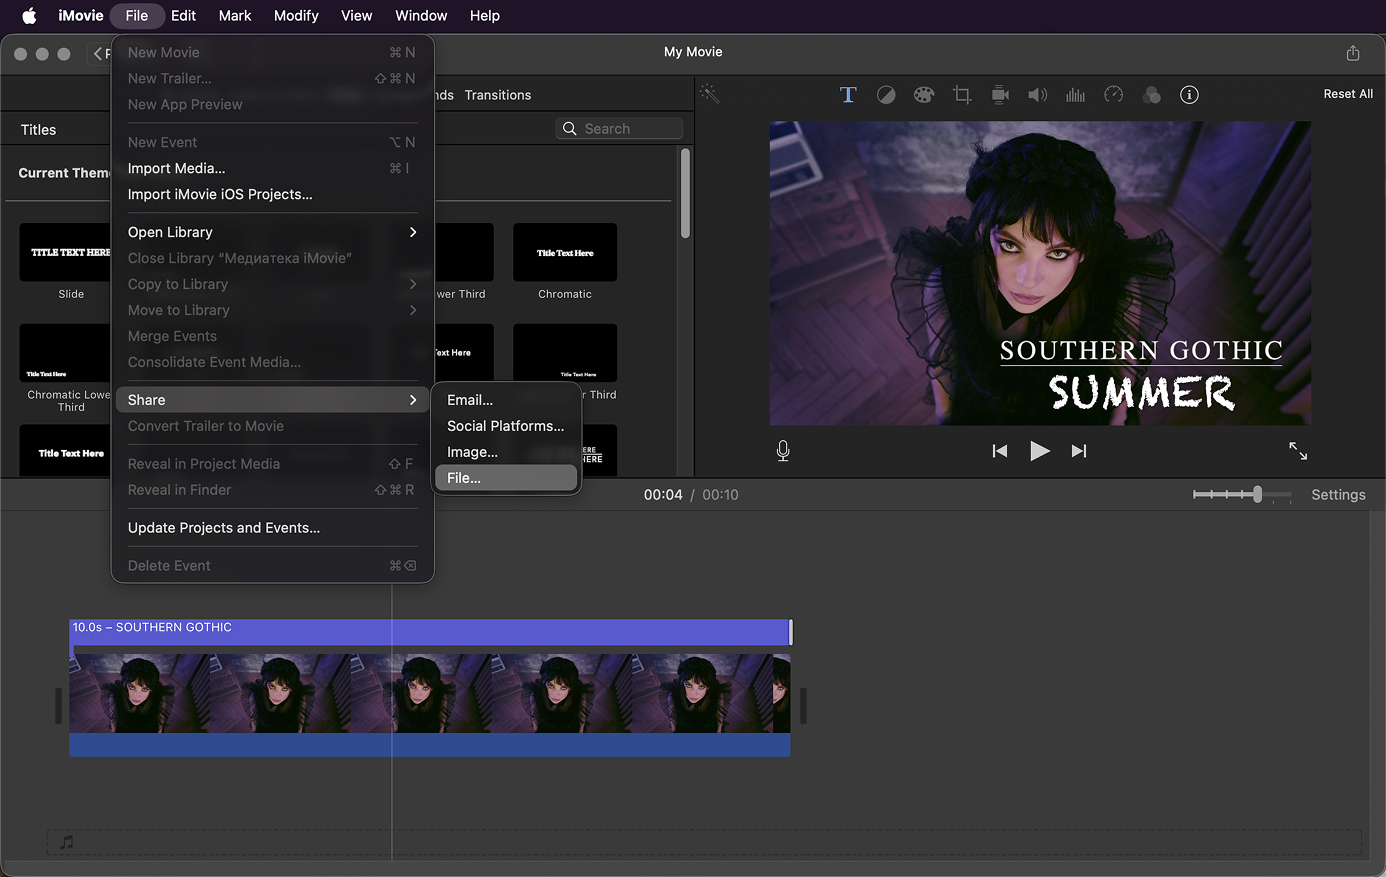
Drag the left or right edge of the purple title bar in the timeline to lengthen or shorten how long the text appears on screen. For a precise duration, select the title in the timeline, click the Clip Information button (i) above the viewer, and type a specific duration. When the text position and timing look right in the preview, click File → Share → File… to export. Choose MP4, set resolution, and click Next to save.
| Output formats – iMovie (with text overlays) |
| MP4 (H.264 or H.265) – default, widest compatibility |
| MOV (ProRes) – high quality via Export File > ProRes |
| 4K, 1080p, 720p, 480p – resolution presets at export |
| Direct upload to YouTube, Vimeo, Facebook via Share menu |
| NOTE: text is burned permanently into the exported video file |
| NOTE: iMovie cannot export a separate SRT/subtitle file alongside the video |
| iMovie title styles – most used options |
| Standard – centered full-screen title, minimal animation |
| Lower Third – two-line label at the bottom, ideal for captions and name tags |
| Pop-up – text pops in with a bounce effect |
| Reveal – text appears with a wipe/reveal animation |
| Zoom – text scales up from center |
| Ticker – scrolling marquee-style text |
| Scrolling credits – vertical scroll, ideal for end credits |
| Formal – subtitle-style text at the bottom, minimal |
| Centered – full-screen static-ish centered text |
❌ No plain static text: Every iMovie title style includes at least a subtle entrance animation. There is no completely static, zero-animation text option.
❌ No SRT file import: iMovie cannot import .srt, .vtt, or any subtitle file format. Every caption must be typed manually, one clip at a time.
❌ No free text positioning on Mac: Text positions are locked to the style’s preset location (center, lower third). The text box cannot be freely dragged to an arbitrary position on the frame.
❌ No Windows PC version: iMovie is Mac and iPad/iPhone only. Windows users need a different tool.
Movavi Video Editor is a cross-platform software alternative to iMovie. It offers free-positioning text overlays with no forced animation, an AI auto subtitles tool that generates captions automatically from speech, and full font customization – all on both Mac and Windows.
Unlike iMovie, Movavi’s text tool lets you place text anywhere on the frame by dragging, choose from dozens of animation types or no animation at all, and export captions as a standalone SRT file alongside the video. The 7-day free trial is a full-feature download from movavi.com/videoeditor.
| 🏷️ Save on Movavi Video Editor
Use a Movavi promo code for a discount on your license. Check current promo codes → |
Three steps from a blank project to a titled, captioned video export on Mac or PC.
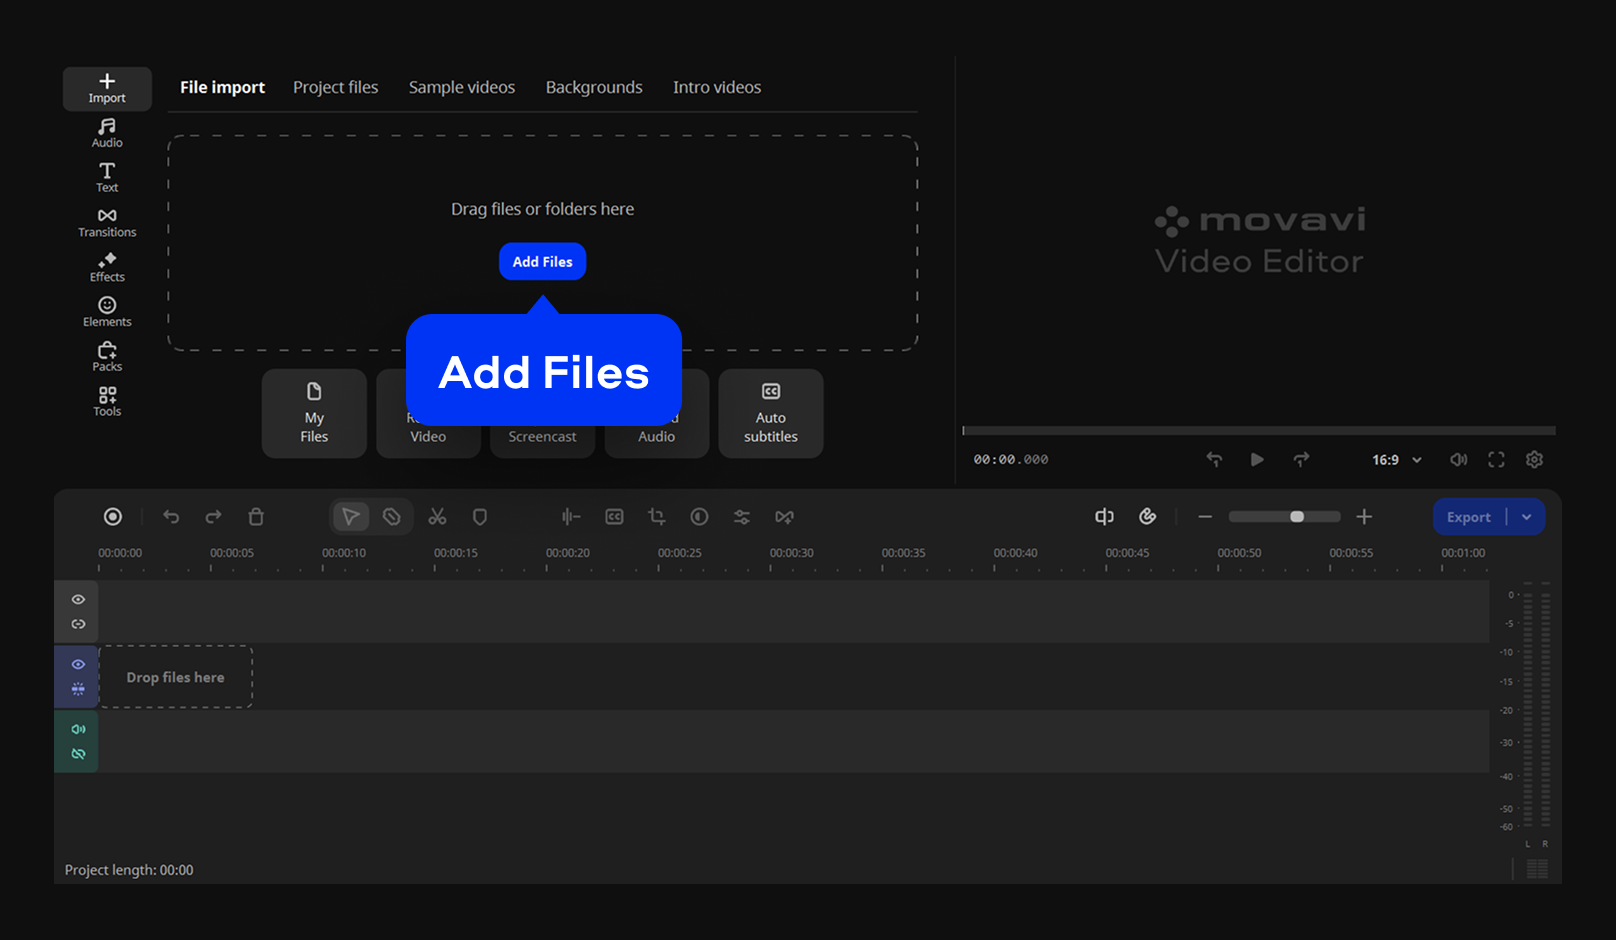
Download and install Movavi Video Editor for Windows or Mac. Click Add Files and select the video you want to edit from your device. You can also drag and drop the file into the software window to start working right away.
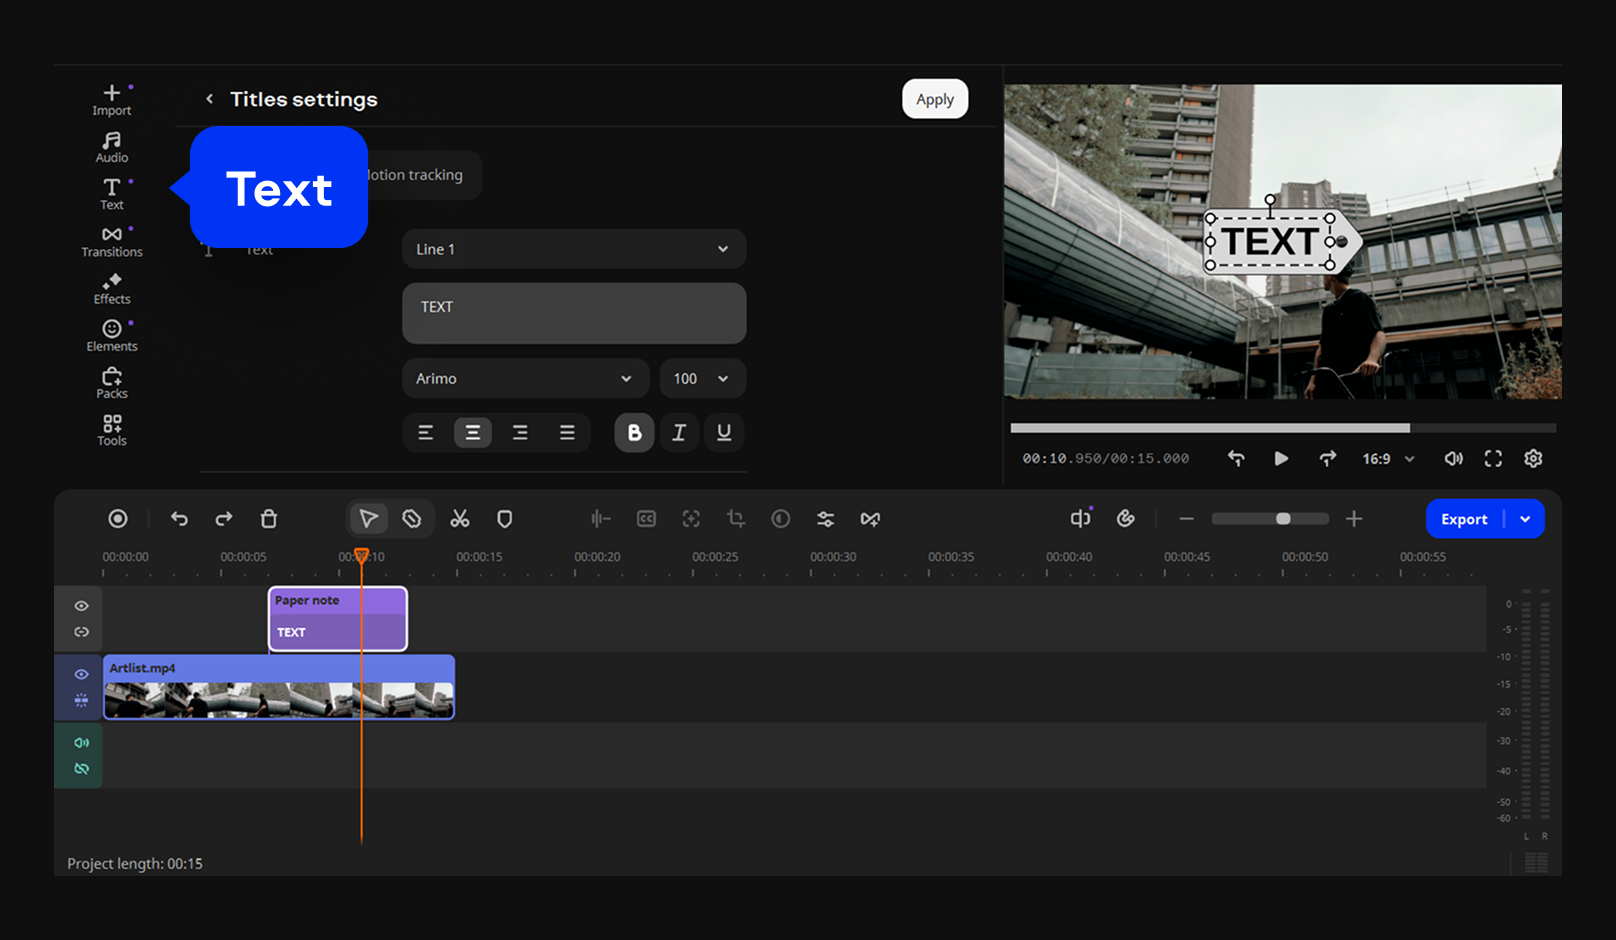
Open the Text tab, choose the style you like, and drag it to the timeline. Enter the text you want to place on the video. The text appears as a separate overlay, which you can move freely and position exactly where it fits the scene.
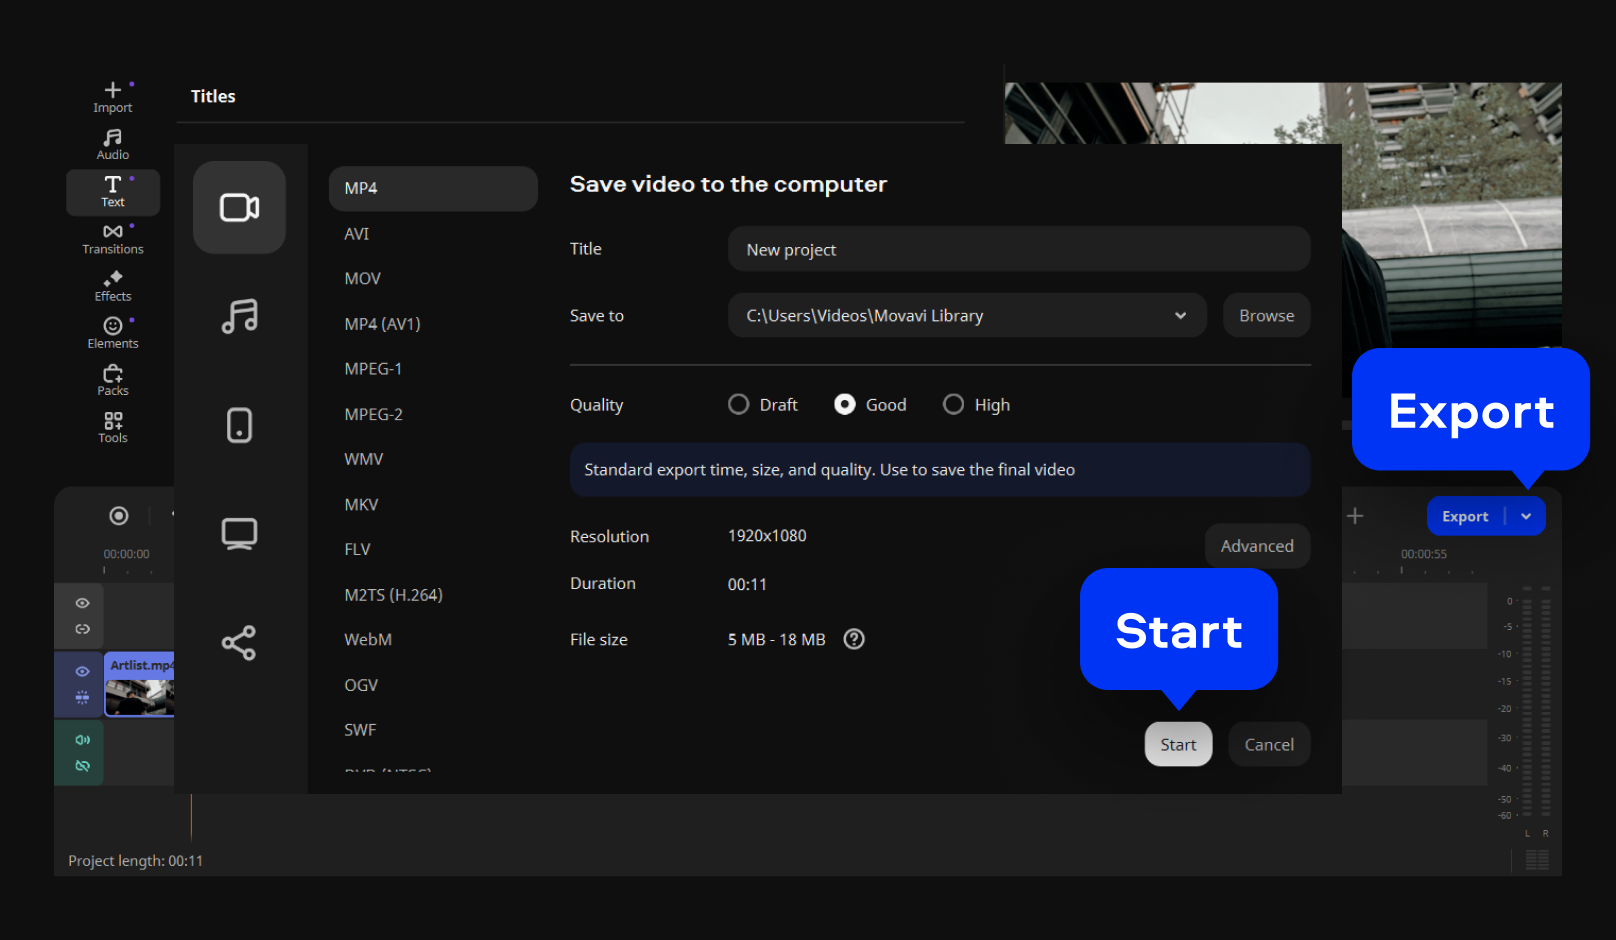
Click Export and specify saving settings. You can save the video for free with a watermark or use the paid version to export the final file with no watermark.
Adding text in iMovie on Mac takes six steps:
The Lower Third and Standard styles are the closest to a non-animated caption look.
For users who need free text positioning, no animation, AI auto-captions, SRT export, or a Windows PC version, Movavi Video Editor covers every gap in one cross-platform software package.
Truly non-animated text is not available in iMovie – every title style has at least a subtle entrance animation built in. The closest options to a static look are Lower Third (minimal slide-in at the bottom) and Standard (a simple fade-in). To use one: click Titles in the iMovie toolbar, find Lower Third or Standard, drag it to your clip, double-click to type your text, and click Apply. If you want completely animation-free text – a caption that simply appears with no motion at all – you need a different tool. Movavi Video Editor’s Basic text preset in the Titles tab supports zero-animation static text with full font and color customization on both Mac and Windows PC.
To add text inside a video in iMovie on Mac:
iMovie doesn’t have a dedicated captions tool, but the Lower Third title style works well as a caption workaround. For each caption: position the playhead in the timeline where you want the caption to start, drag Lower Third from the Titles browser onto the clip, double-click to type the caption text, set the duration to match the spoken phrase, and repeat for the next segment. iMovie does not support SRT file import or auto-captions. If you need either of those, use Movavi Video Editor’s AI auto subtitles tool, which transcribes speech automatically and lets you export both a captioned video and a standalone SRT file.
iMovie does not have an annotations tool – there’s no drawing layer, arrow overlay, or highlight box feature like you’d find in screen recording software. The closest workaround: use iMovie’s Pop-up or Lower Third title styles to add text annotations at specific points in the video, positioned in the lower area of the frame. For visual annotations like arrows and callout boxes, create the annotation graphic (PNG with transparent background) in a tool like Keynote or Preview, then import the PNG as a picture-in-picture overlay in iMovie via Movie Settings → Picture in Picture. For a more complete annotation workflow on both Mac and Windows PC, Movavi Video Editor includes callout shapes, arrows, and highlight overlays natively in its Elements panel.