


We use cookies to improve the services we offer you. By continuing to browse this site, you consent to keep them in accordance with our Privacy Policy.
×We use cookies to improve the services we offer you. By continuing to browse this site, you consent to keep them in accordance with our Privacy Policy.
×
 6,059
6,059
 3 min
3 min
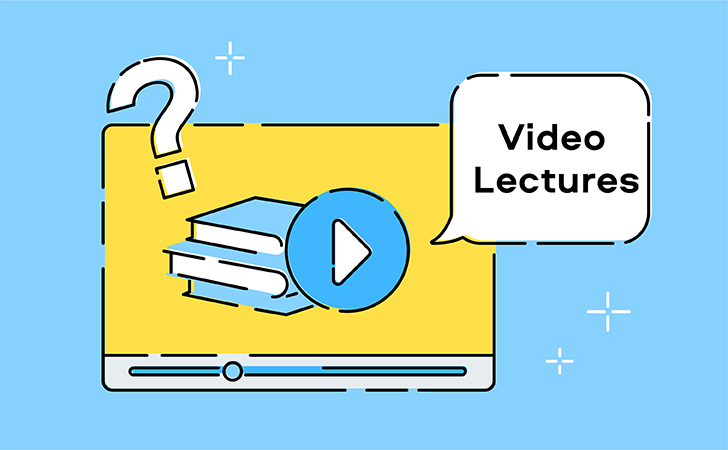
Since nowadays everything is moving into online, you might be wondering how to digitalize certain things you used to perform offline. If you’re somehow involved in teaching, it should be fairly simple. All you need to do is to master the instruments of recording your lectures and presentations to share them online.
In this tutorial, we’ll tell you how to do that.
Step 1. Get Recording Equipment
You can use the built-in webcam and microphone in your laptop. However, if you want to enhance the sound and video quality of your lectures, it’s better to invest in external recording equipment. A simple webcam and a microphone will do just fine.
Step 2. Download the Necessary Software
You’ll need a screen recording app and a video editing app. We recommend Movavi Screen Recorder (use the discount code BLOG to get 30% off!) and Movavi Video Editor Plus. As an alternative, you can download Movavi Video Suite, which includes both tools in one package.
Movavi Video Editor Plus with 10% discount for Windows
Movavi Video Editor Plus with 10% discount for Mac
Step 3. Record Your Lecture
Option 1: Record a Webcam Lecture
This option is for those who want to capture their webcam image only. Connect your webcam and microphone (if you’re not using built-in ones) and launch Movavi Video Editor. Click the “Record video” button to open the webcam recording app. Check webcam and mic settings and the destination folder in the right part of the program window. Click “Start Capture” to begin recording. When your lecture is finished, click “Stop capture”. To view your recording, click “View saved files”.
Option 2: Record a Presentation
If you’re using a PowerPoint presentation, it is possible to record your screen together with your voice and webcam video. Open Movavi Screen Recorder. Make sure your mic and your webcam are ready. Click the little cogwheel icon to access the program settings. Go to “Webcam” and change resolution, position, and other parameters. Close the settings and click the camera icon. Draw the orange frame over the area you want to capture. Enable your webcam and microphone by clicking the corresponding icons. Hit the round red icon to start recording. You won’t see your webcam image while you’re recording but it will appear in the video. When you’re finished, click the “Stop” icon. To view your recording, click “Show in Folder”.
Step 4: Edit the Lecture
Once you’ve finished recording, you can edit your lecture. Open Movavi Video Editor Plus and upload your recording onto the timeline. Watch your lecture and cut out unwanted parts using “scissors”. Open the “Titles” tab and add text. You can also upload any image or video file to the program and insert them into your lecture.
To see the process done step by step, watch this video by Movavi Vlog:

