


We use cookies to improve the services we offer you. By continuing to browse this site, you consent to keep them in accordance with our Privacy Policy.
×We use cookies to improve the services we offer you. By continuing to browse this site, you consent to keep them in accordance with our Privacy Policy.
×
 10,058
 4 min
4 min
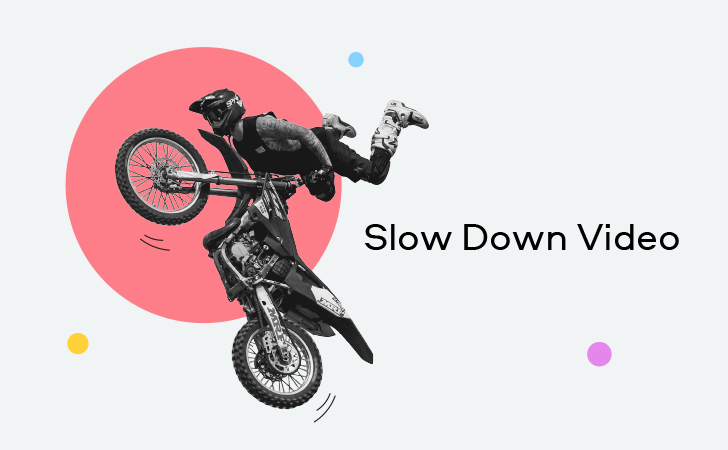
A speed ramp is the smooth acceleration or deceleration of a video. You’ve undoubtedly seen it used in any number of movies and videos on YouTube.
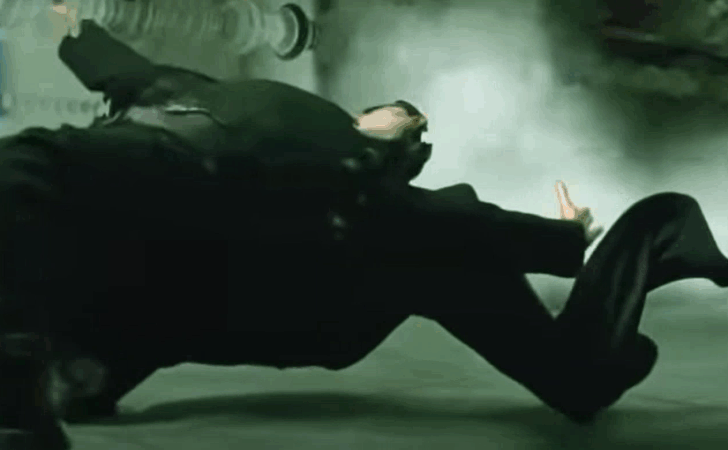
Remember the iconic scene of Neo escaping billets in The Matrix? Or the memorable fights in Zac Snider’s 300 or Guy Ritchie’s Sherlock Holmes? It’s not just slow-mo in these movies – it’s actually speed ramping.
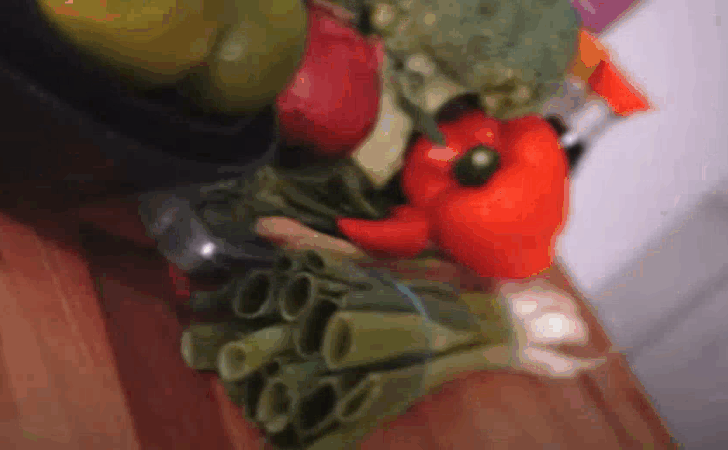
On YouTube, creators often use this effect in skateboard or parkour footage and travel videos. It’s also increasingly being used in epic cooking b-roll.
Speed ramping, sometimes called time remapping, is most effective when used to attract viewers’ attention to a particular moment or movement in your video – for example, a tricky jump or an approaching bullet. It also makes a cool transition between two clips or shots within one video.
You can create a speed ramp yourself at home – just make sure that your video is shot at 50 frames per second or more. Anything slower won’t let you achieve that smooth slow motion. Also, speed ramping looks best in videos where you can clearly see the camera movement.
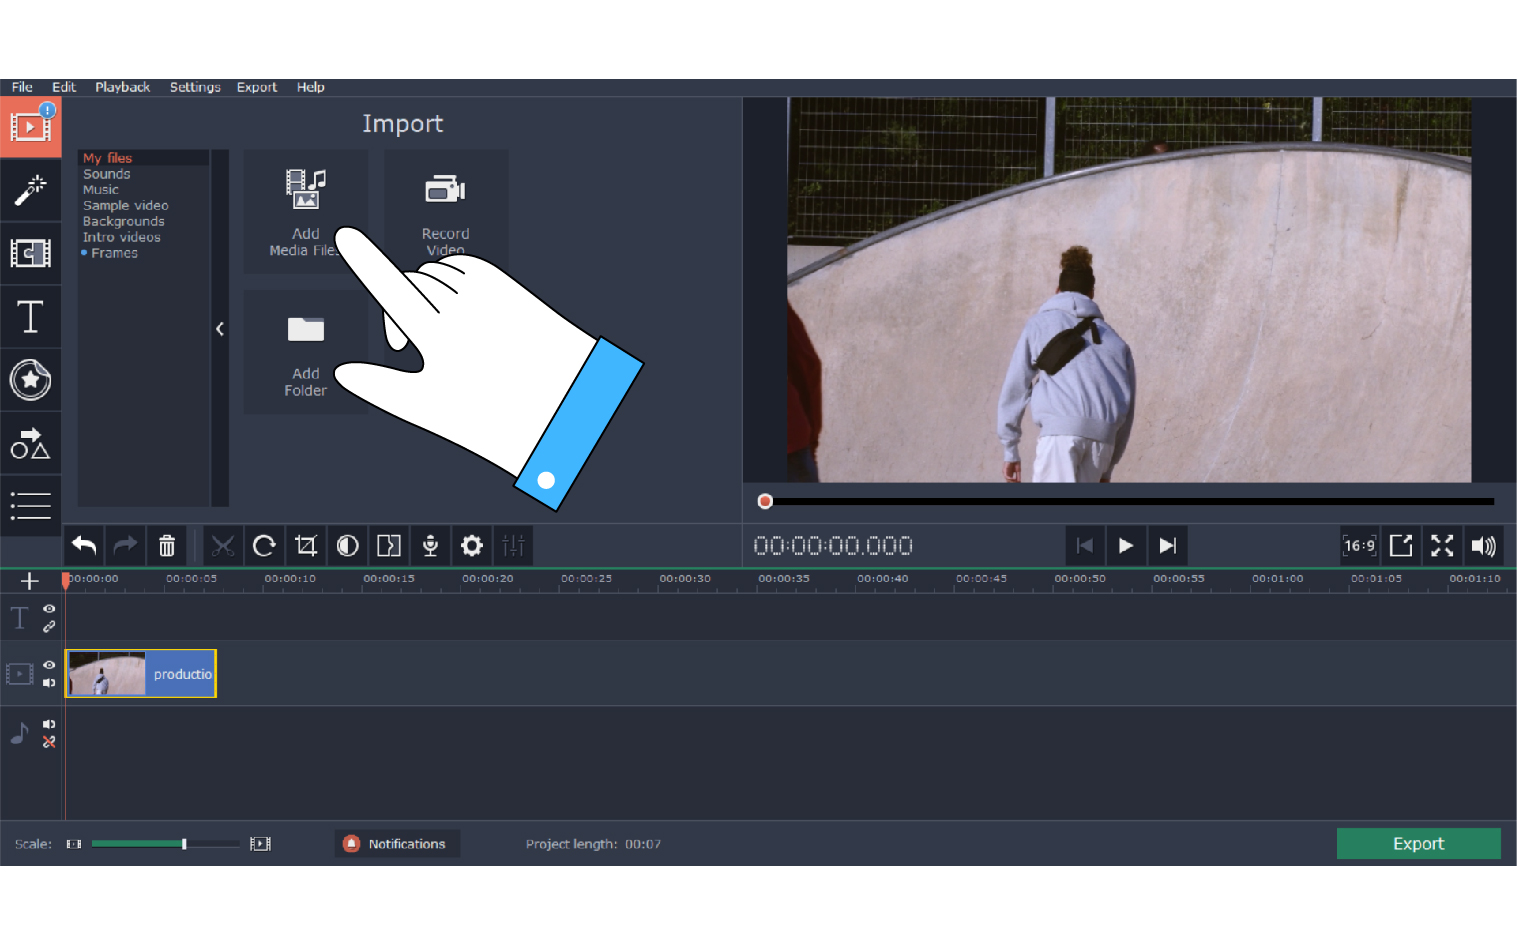
To create this effect in your video, you don’t need super-advanced software. You can just as easily do it with a simple editing app like Movavi Video Editor. It won’t take a lot of time or effort, but it will make your video look more professional and interesting. Let us show you how you can create a speed ramp in just five steps:
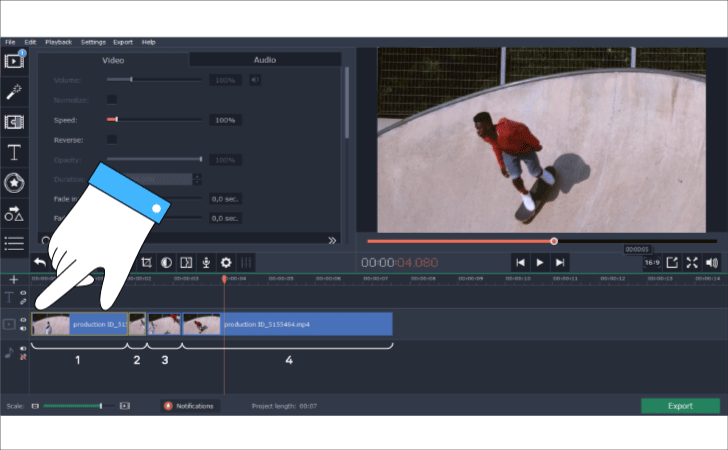
1. Open Movavi Video Editor and import your video.
2. To create a smooth speed change at the join between two clips, you need to cut a piece of footage from the end of the first clip and another from the beginning of the second clip. This will give you one to four seconds for a transition. The exact length of each piece depends on how dynamic your footage is. The important thing is that the camera movement has to be noticeable by itself.
3. Cut each of the extra pieces of footage into three or smaller parts. The closer the part to the join, the longer it needs to be. Basically, you take the extra part from the first clip and cut it into multiple pieces of different lengths – from the shortest to the longest. And then you mirror the same pattern in the second extra clip. The more parts you make, the smoother the speed change will be in the end!
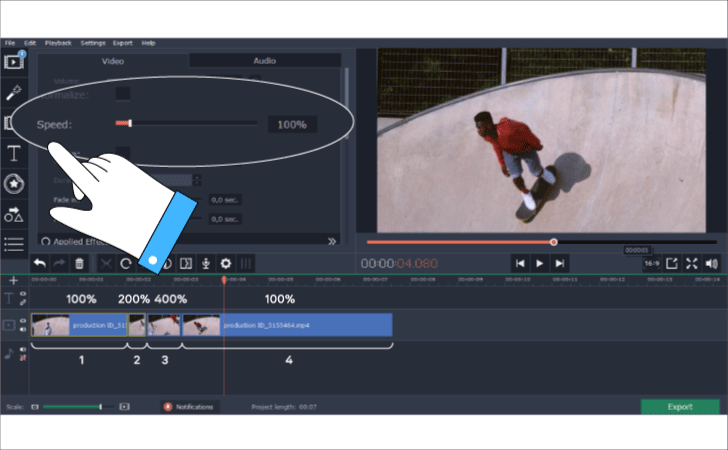
4. Set different speed parameters for each of these smaller parts: the closer the part to the splice, the higher the speed should be.
5. To make the effect even cooler, add a Whoosh sound effect – it’s one of the basic built-in sound effects.
And that’s it. Your speed ramp is ready!
If you’re ready to take your editing to the next level, try to create the same effect in Adobe Premiere Pro:

