We use cookies to improve the services we offer you. By continuing to browse this site, you consent to keep them in accordance with our Privacy Policy.
×We use cookies to improve the services we offer you. By continuing to browse this site, you consent to keep them in accordance with our Privacy Policy.
×
 61
61
 8 min
8 min
Need to capture your desktop without installing extra software? VLC media player includes a built-in screen recording tool that lets you record your full screen and save it to popular formats like MP4. The feature is free and works on both Windows and macOS.
This guide explains how to use the VLC record screen feature on PC and Mac, select the right output formats, and troubleshoot common audio and capture limitations.
Recording your desktop in VLC involves selecting your display under Open Capture Device and then using VLC’s conversion features to export the final video file.
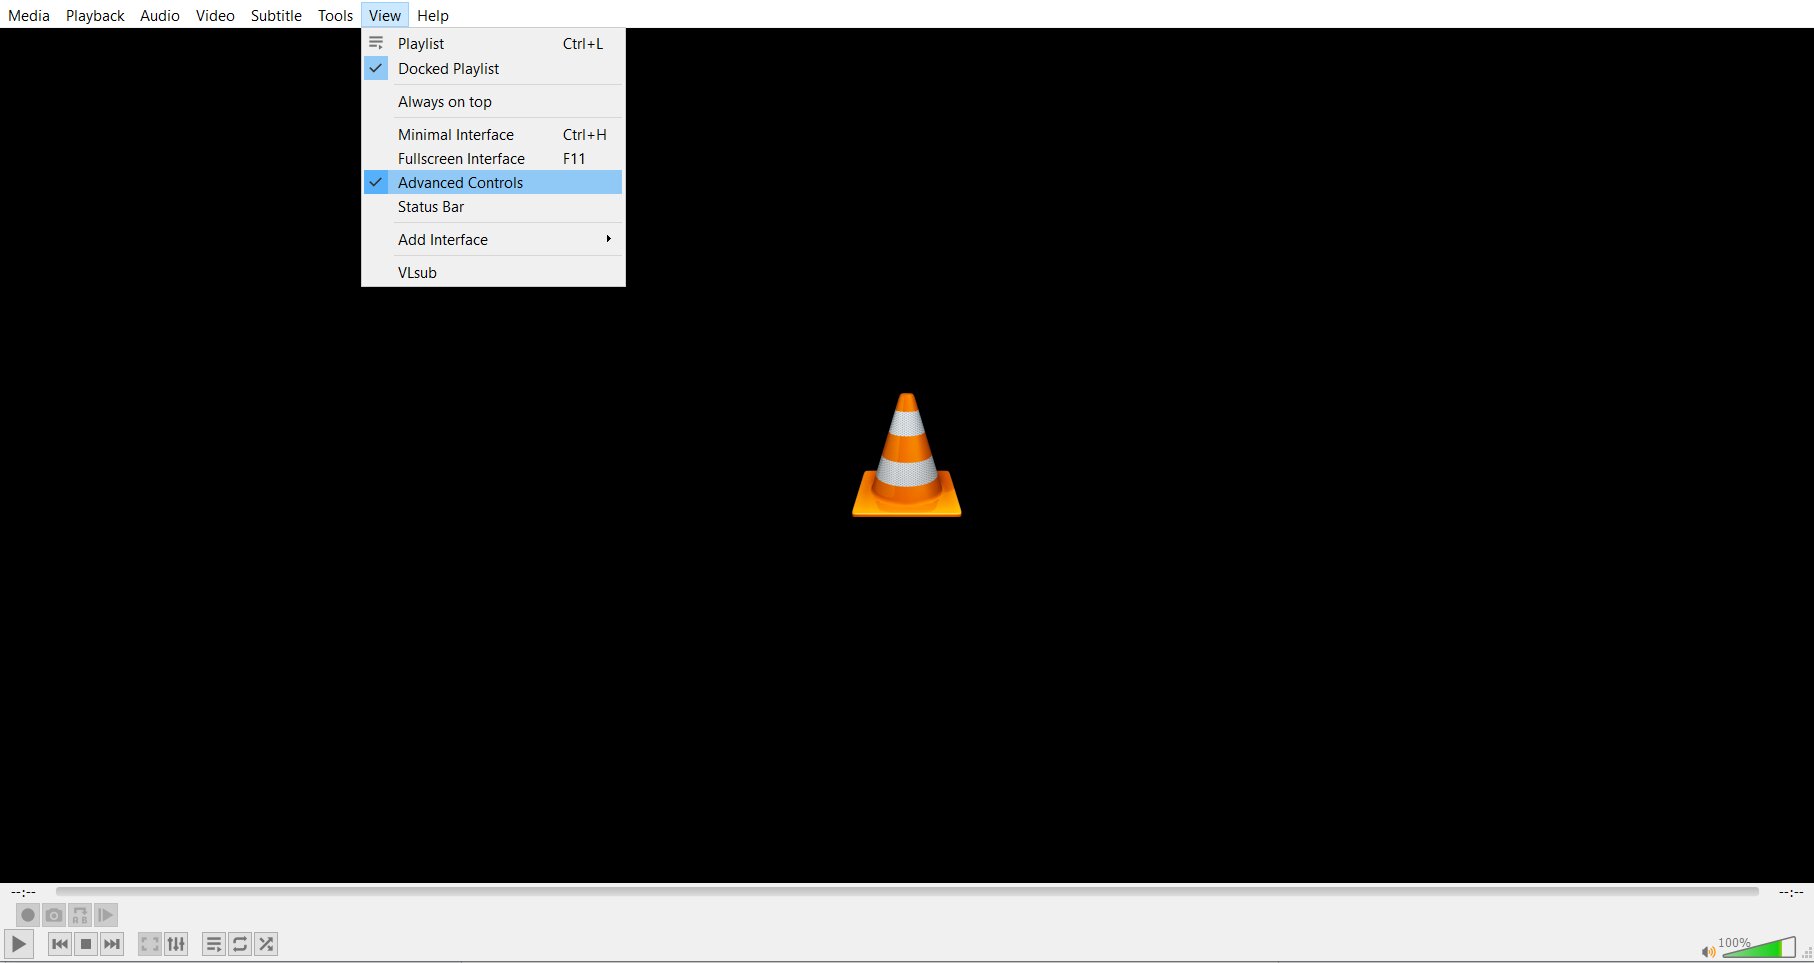
Open VLC on your PC. Go to View → Advanced Controls in the top menu. A second row of controls appears above the standard playback bar – it includes a red Record button. You won’t use this button for screen recording directly (it’s for recording currently playing media), but enabling it confirms the controls are active.
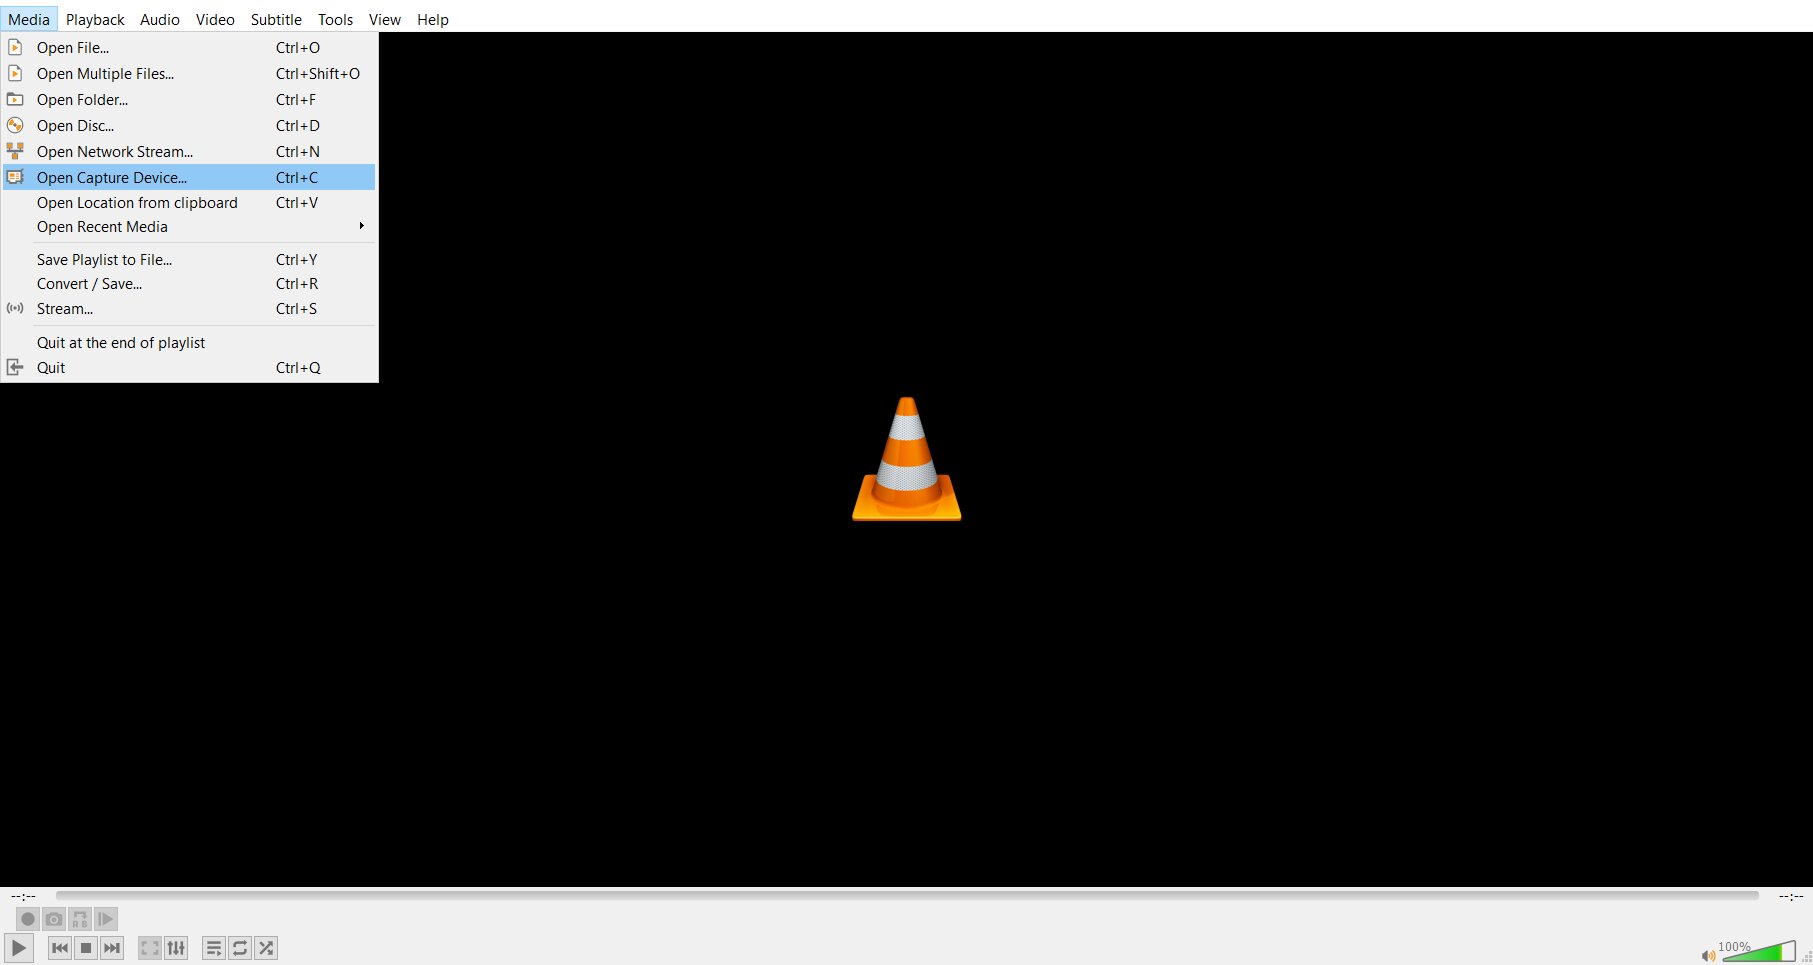
Click Media in the top menu bar, then select Open Capture Device. The Open Media dialog opens on the Capture Device tab.
Input sources supported by VLC
VLC’s Open Capture Device accepts the following input sources across PC and Mac:
| Input sources – VLC |
| Desktop (Windows) – captures full screen |
| Screen (macOS) – captures full screen on a Mac |
| Webcam / DirectShow device (Windows) – video from camera |
| Webcam / AV Foundation device (macOS) – video from camera |
| Microphone (any platform) – audio input device |
| Virtual audio device (Windows: VB-Audio; Mac: BlackHole) – system audio |
| Network stream URL – HTTP, RTSP, MMS sources |
| Disc (DVD/Blu-ray) via Disc tab |
| Network / broadcast stream via Network tab |
In the Capture Device tab, click the Capture mode dropdown and select Desktop. In the Desired frame rate for the capture field, enter a frame rate. 10–15 FPS is fine for slides and non-moving content; 30 FPS gives smoother video for fast-moving demos. Higher FPS increases file size and CPU usage. For audio, if you have a virtual audio device installed, select it in the audio dropdown below; otherwise leave it blank.
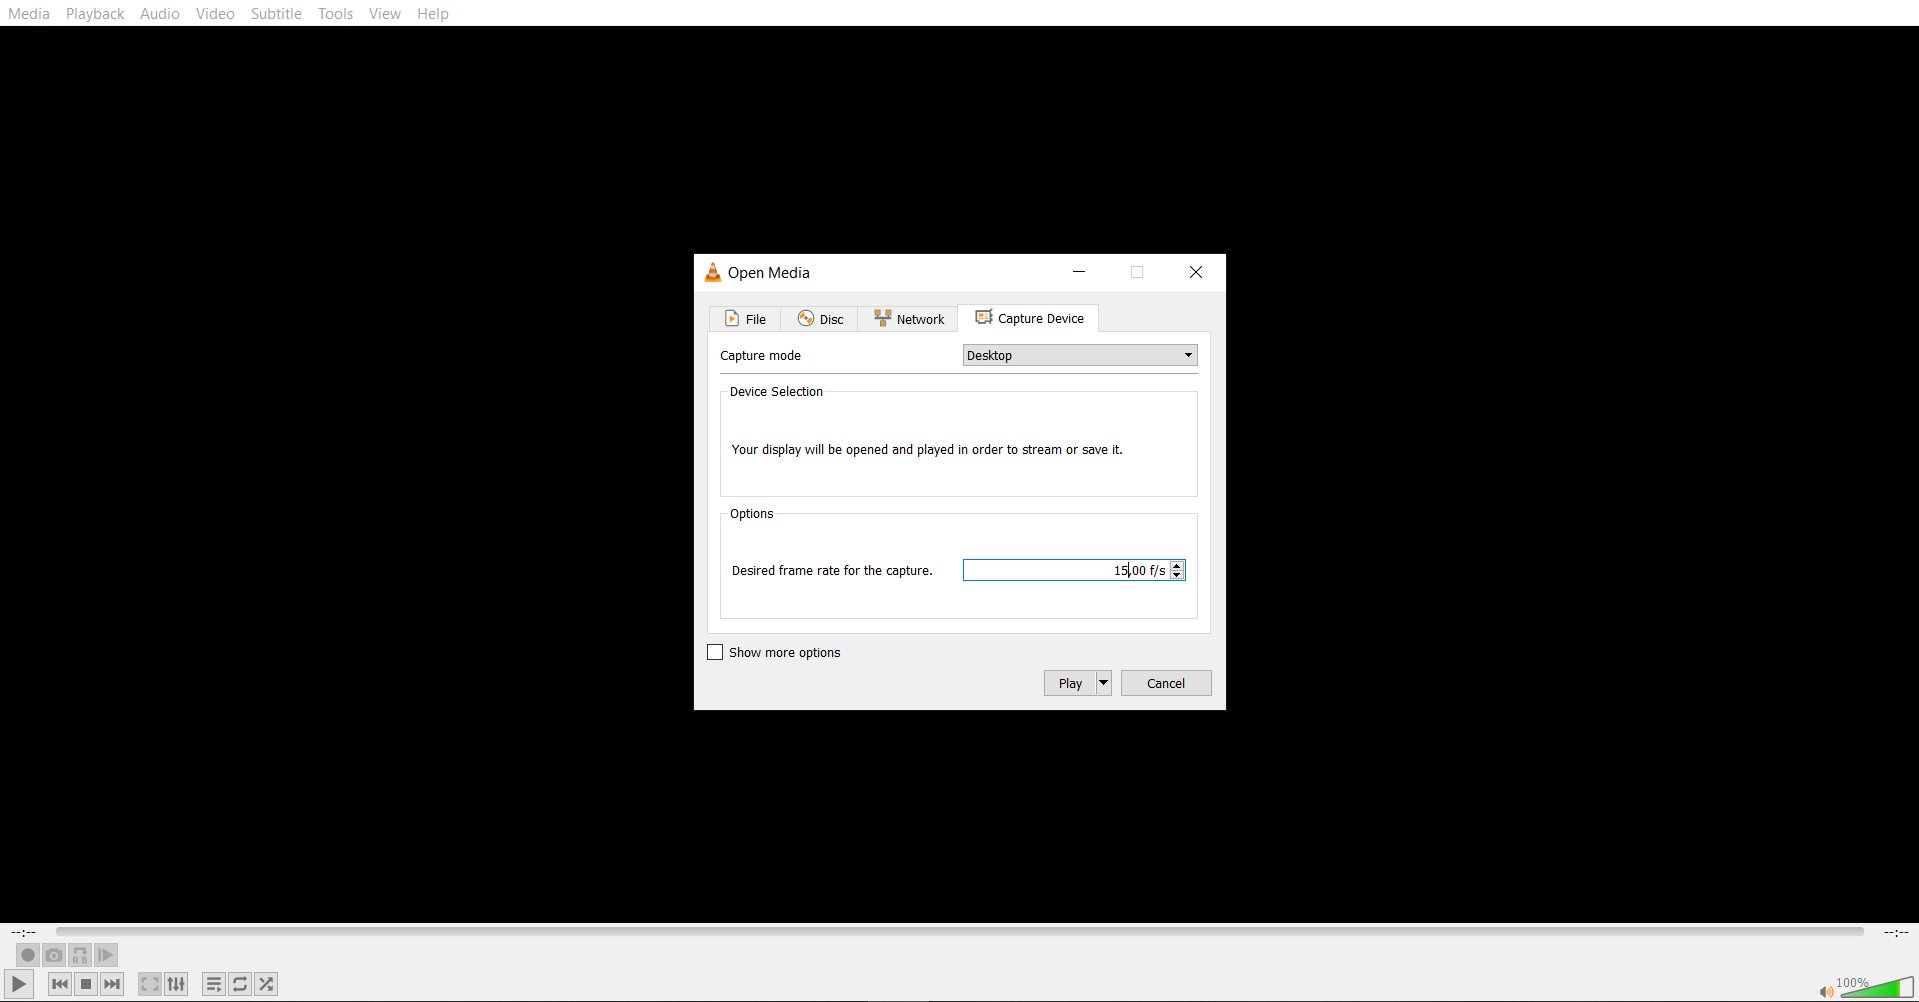
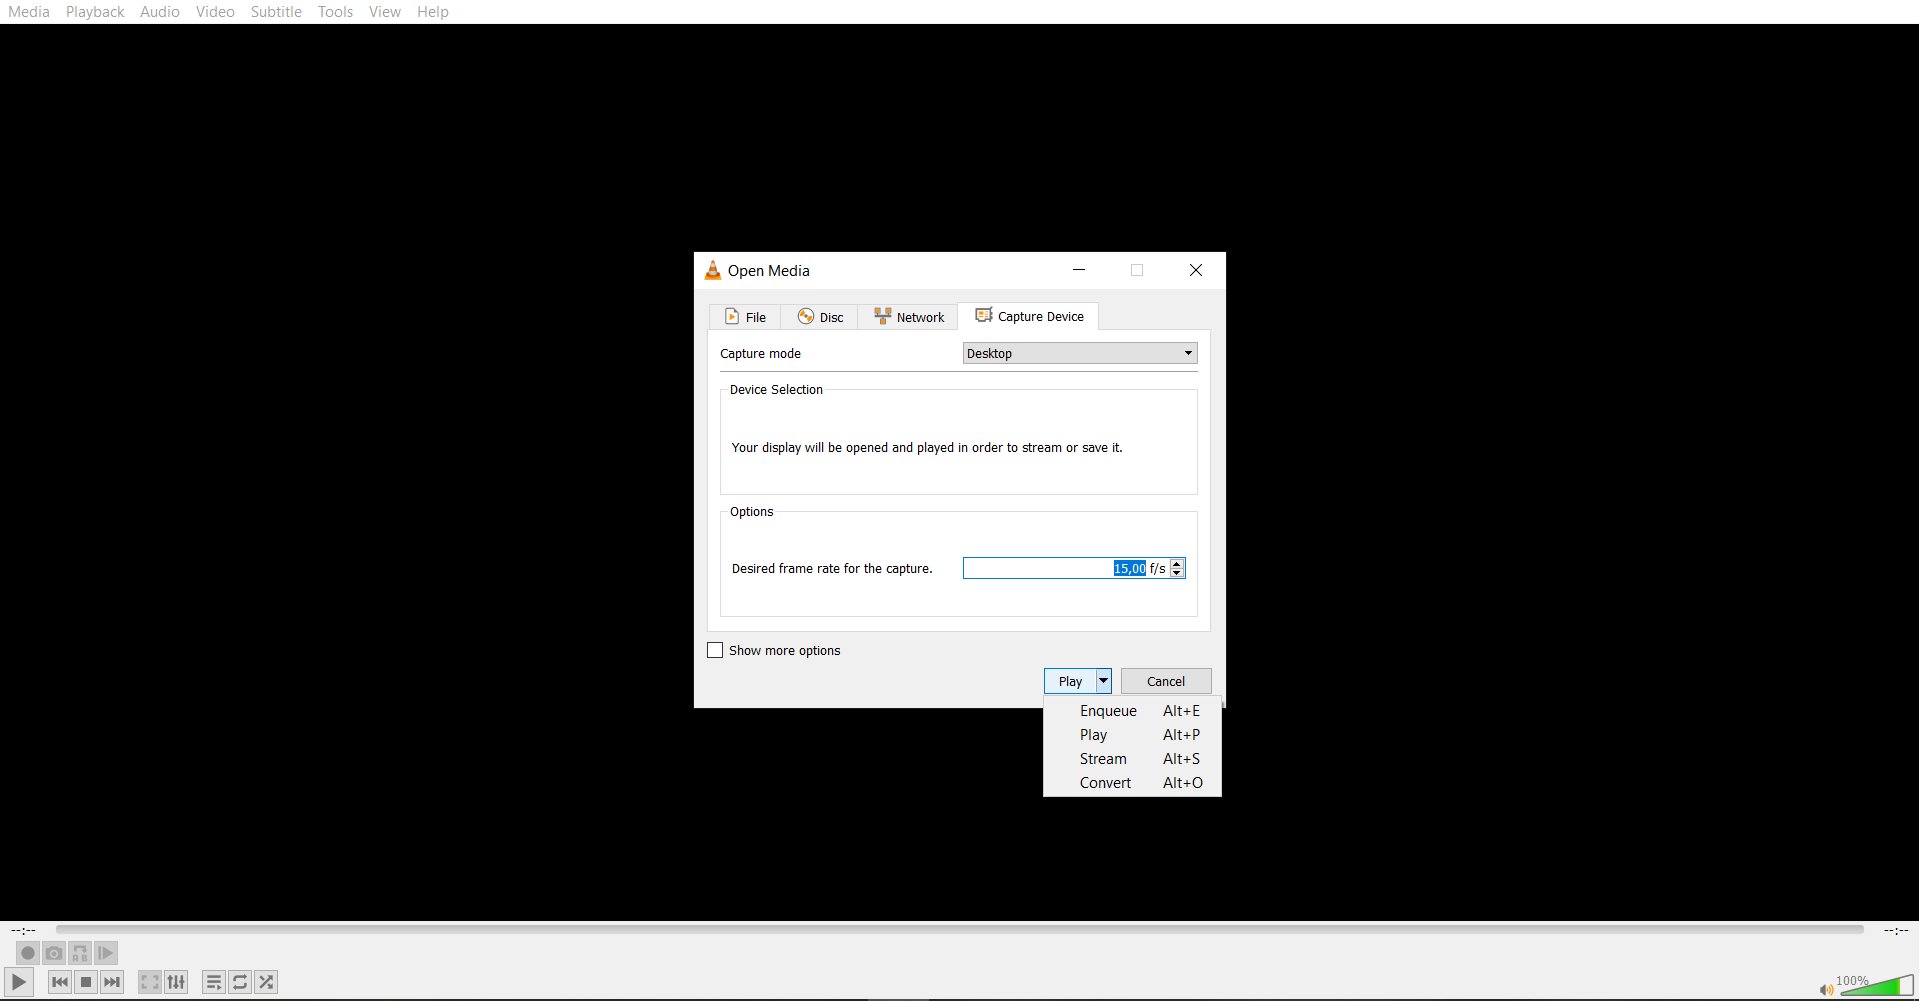
Click the dropdown arrow next to the Play button at the bottom-right of the dialog and select Convert.
In the Convert window:
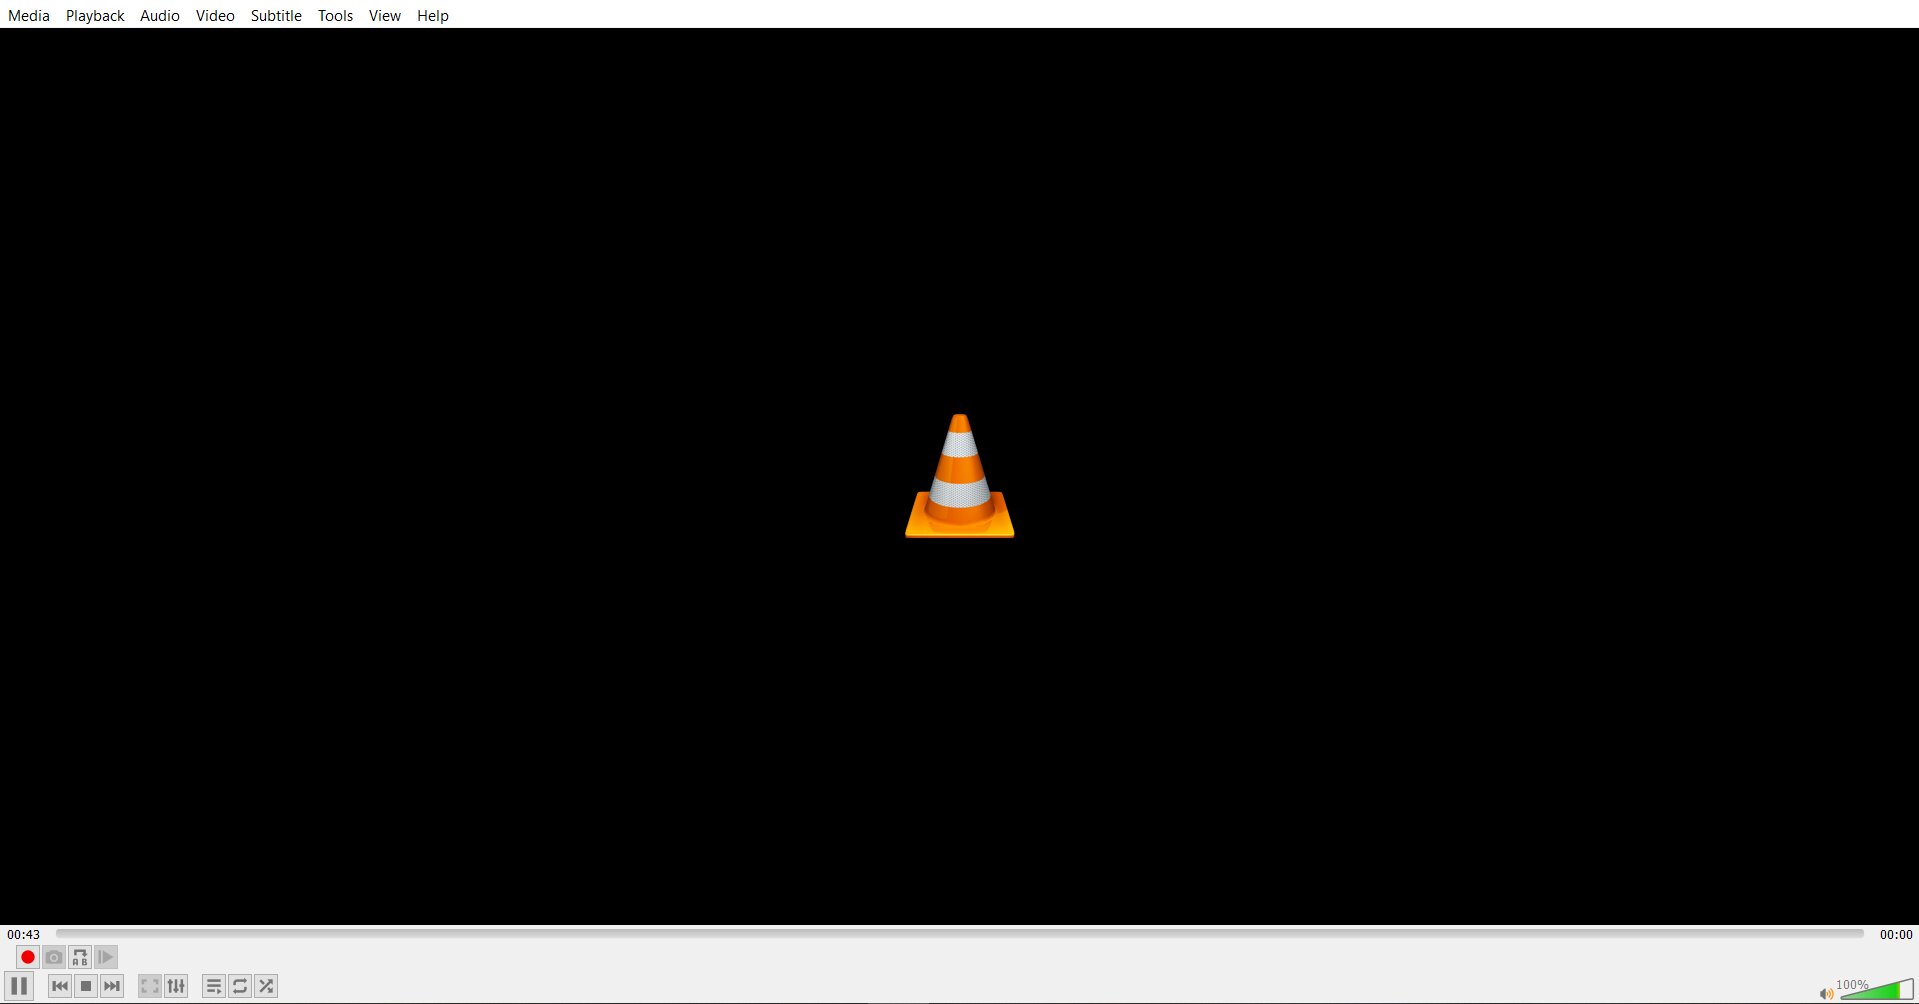
Click Start. The VLC window minimizes or sits in the background. VLC is now active – everything on your computer screen is being captured. When you’re done, bring the VLC window back to the front and click the Stop button (the square icon in the playback controls). The video file saves to your chosen destination automatically.
On Windows (via Convert / Save), VLC can output screen recordings in:
| Output formats – VLC |
| MP4 / M4V (H.264 + MP3 or AAC) – recommended, widest compatibility |
| MKV (Matroska Video) – lossless container option |
| MPEG-TS (Transport Stream) – broadcast-compatible |
| WebM (VP80 + Vorbis) – browser-friendly |
| ASF / WMV (Windows Media) – legacy Windows format |
| OGV (Theora + Vorbis) |
| AVI – default output on macOS (not QuickTime-compatible) |
Movavi Screen Recorder is the purpose-built alternative that solves every limitation of VLC’s screen recorder: it captures any custom area or single window, records system audio and microphone simultaneously without any virtual audio driver, shows the mouse cursor in the recording, and exports clean MP4 files – all on both Windows and Mac. No command-line configuration, no virtual device setup.
The 7-day free trial gives full access to all recording features before any payment. The paid version removes the trial watermark and all limitations.
| Save on Movavi Screen Recorder
Use a Movavi promo code at checkout and save on your license. Check current promo code → |
Three steps from installation to a finished screen recording with audio – on Windows or Mac.
Download and install Movavi Screen Recorder from the official website. Click the Screen recording icon on the sidebar.
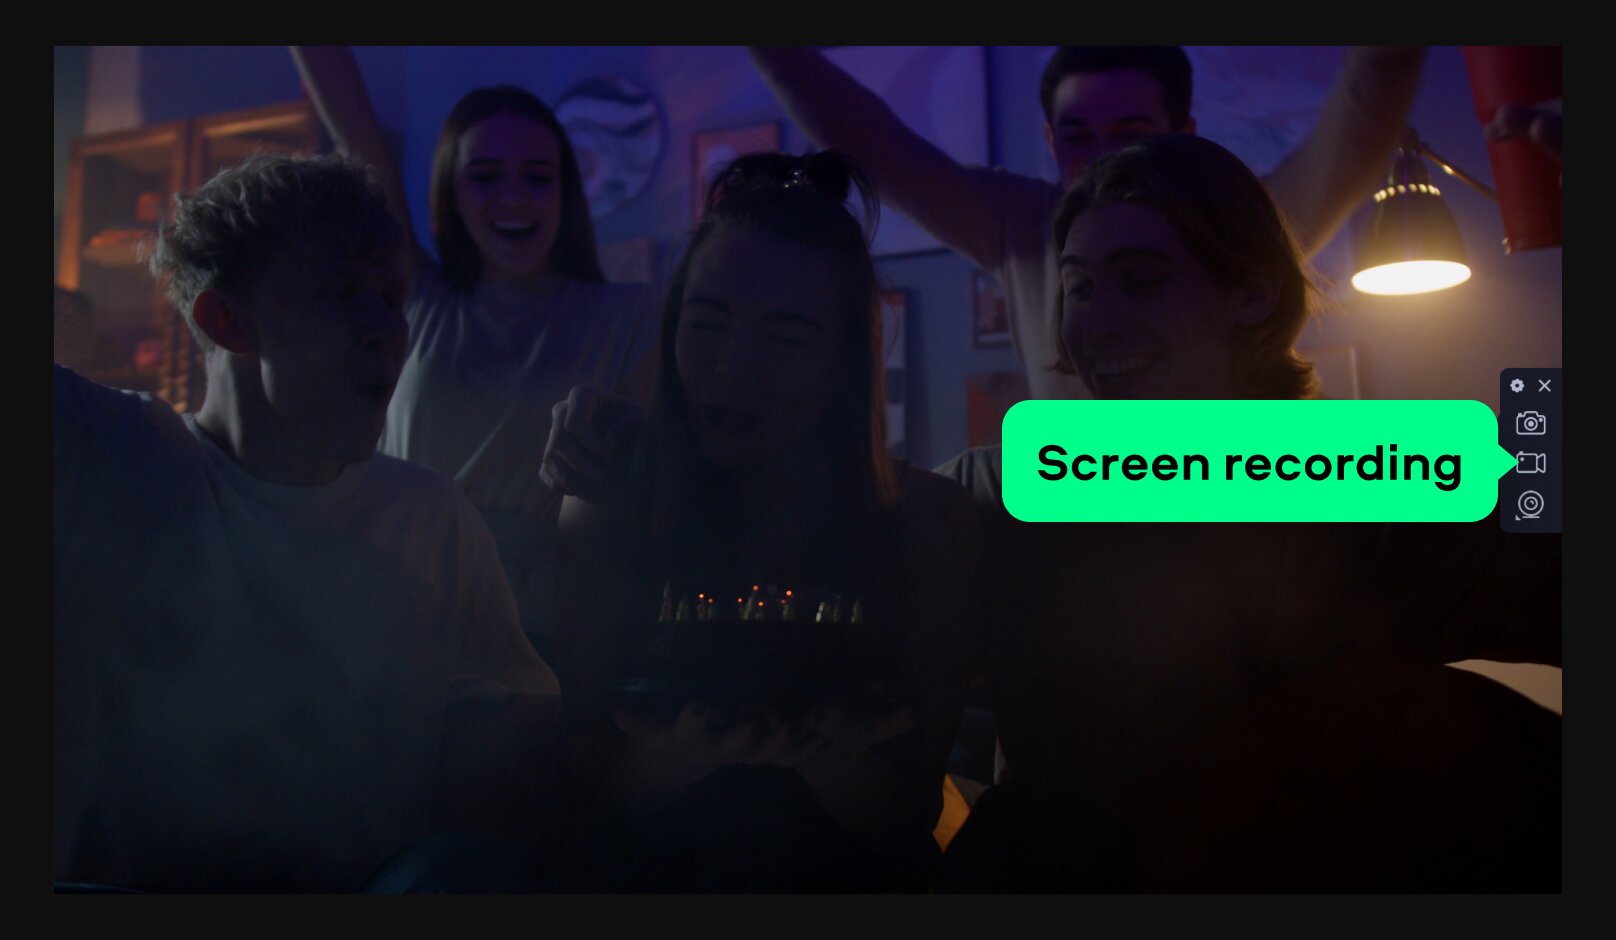
Use your mouse to drag and highlight the exact portion of the display you want to record – full screen, a specific window, or a custom area.
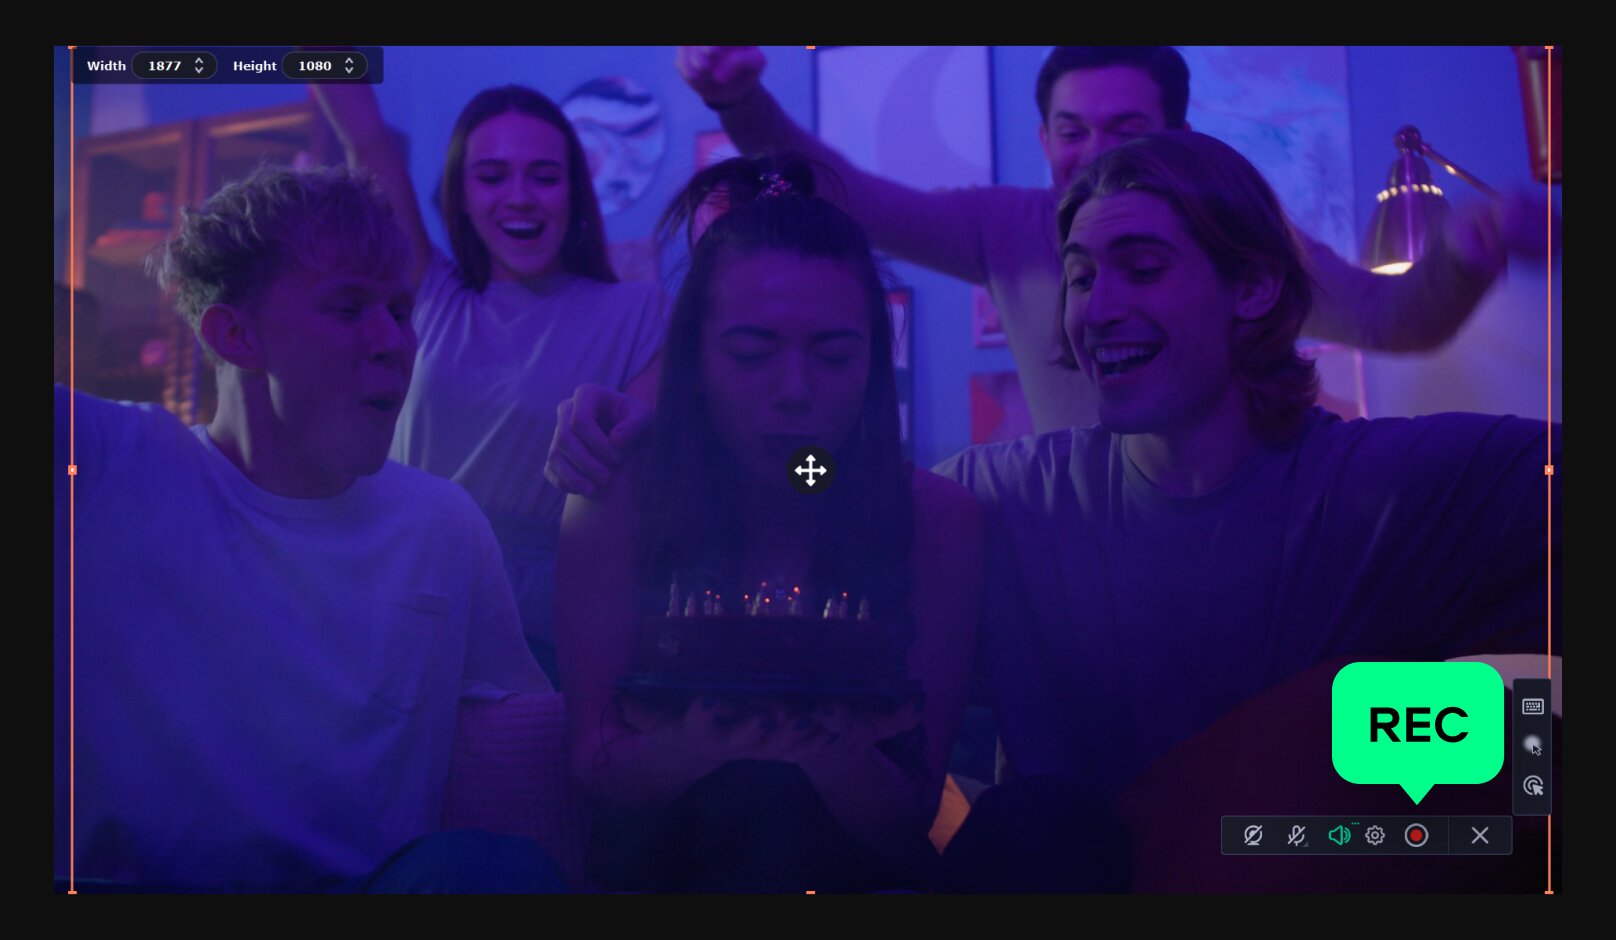
Click REC to start recording after a 3-second countdown. Use the floating toolbar during capture to pause or draw on-screen annotations. When finished, click Stop. The video opens in the built-in trimmer so you can cut out unwanted parts, add final edits, and save the exported file to your computer.
VLC works for simple, occasional full-desktop captures. For recordings that need audio without a virtual driver, a custom capture region, mouse cursor visibility, or a cleaner output, Movavi Screen Recorder covers all of those gaps in a purpose-built tool that’s just as free to try. Download the 7-day trial and compare the results side by side with your VLC recordings.
The Record button in VLC is in the Advanced Controls toolbar – a second row of buttons above the standard playback bar.
To record a clip from a video already playing in VLC:
The most common reasons VLC screen recording fails:
VLC screen recorder does not support recording only one monitor on a multi-screen setup – it captures the entire virtual desktop across all connected screens. There is no built-in region selection or single-monitor targeting in VLC. If you need to record only one screen or only a specific window, you’ll need a dedicated tool like Movavi Screen Recorder, which lets you click a single monitor, draw a custom area, or select a specific application window as the capture region. OBS Studio is another option that supports per-monitor capture via its Sources panel. On Windows 11, the built-in Xbox Game Bar (Win + G) also records the active window only.