


We use cookies to improve the services we offer you. By continuing to browse this site, you consent to keep them in accordance with our Privacy Policy.
×We use cookies to improve the services we offer you. By continuing to browse this site, you consent to keep them in accordance with our Privacy Policy.
×
 7,377
7,377
 15 min
Many people buy fancy cameras that cost a fortune, but very few actually use them to their fullest potential. In fact, most proud DSLR camera owners never figure out how to make the most of them, so Auto mode remains the default setting in the majority of cases.
There’s of course much more to photography than just pressing buttons. But it’s also a fact that if you can take photographs, you can just as easily do it on your smartphone – and still get impressive results. However, if you really want to explore photography at a deeper level and master the nuances of the art, it’s essential to acquire a better understanding of the tools.
Whichever type of camera you’re using, there are a number of universal parameters you can adjust to achieve different effects. There are also settings specific to the kind of device you have (SLR, DSLR, mirrorless camera, and so on). Certainly, it’s hard to study all of them at once, so it’s best to explore your camera a little at a time.
Although it’s nearly impossible to cover all technical aspects of photography in one article, we will go over some of the most common settings to fix in the first place. Once you feel confident playing around with exposure and focus, it’s worth diving into more specific parameters such as metering modes and color temperature settings. We will definitely talk about them later on in our future articles.
Here are some of the most important settings explained for beginners.
Basically, there are two main modes you can shoot in: Auto and Manual. There are also several semi-automatic modes which allow you to adjust one or two settings on your camera while others function in auto mode.
Full Auto mode enables your camera to make all the decisions for you. It saves you the hassle of re-adjusting the settings manually every time the subject, perspective or light changes. Which is good in the sense that you can concentrate on your creative composition ideas.
What are the cons of the auto mode, you might ask? Well, most cameras are not smart enough to understand exactly how you’re imagining your shot. Neither do they have any idea of what you want your photo to look like. Auto mode is mostly about adjusting exposure settings, making your pictures look brighter or darker. You may often find it frustrating because your camera chooses to increase the ISO, or(light sensitivity, instead of opening up the aperture, or slowing down the shutter speed instead of adjusting the ISO, for example.
If you prefer to trust your camera anyway, it’s worth opting for a model that lets you determine the ranges of your settings.
So, what are the most important adjustments to take into account? There are three main settings that you need to know about.
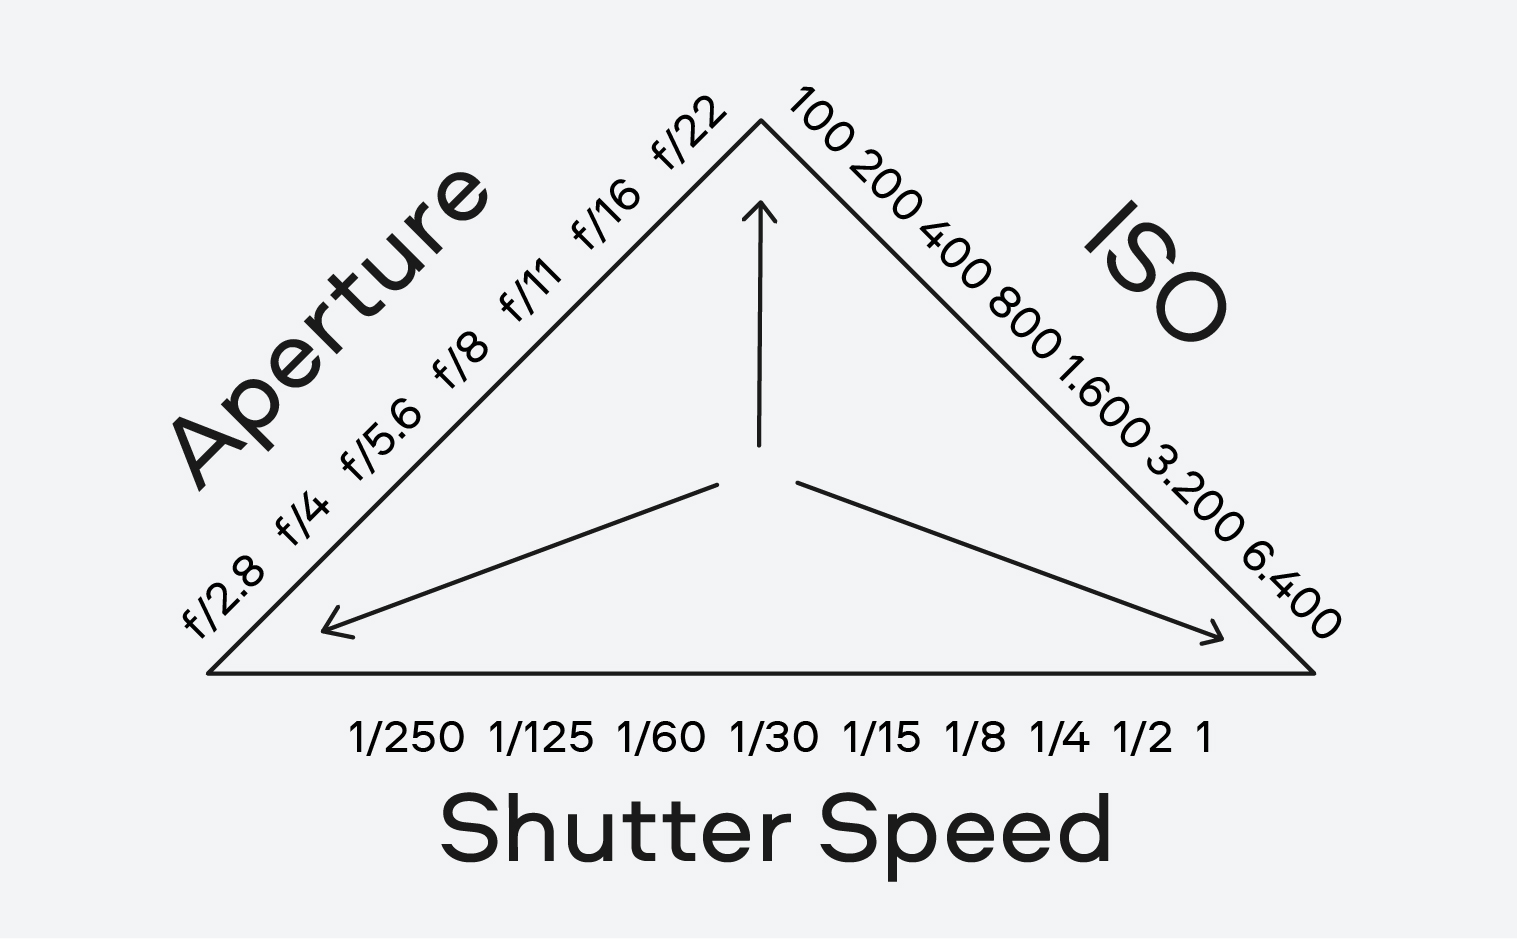
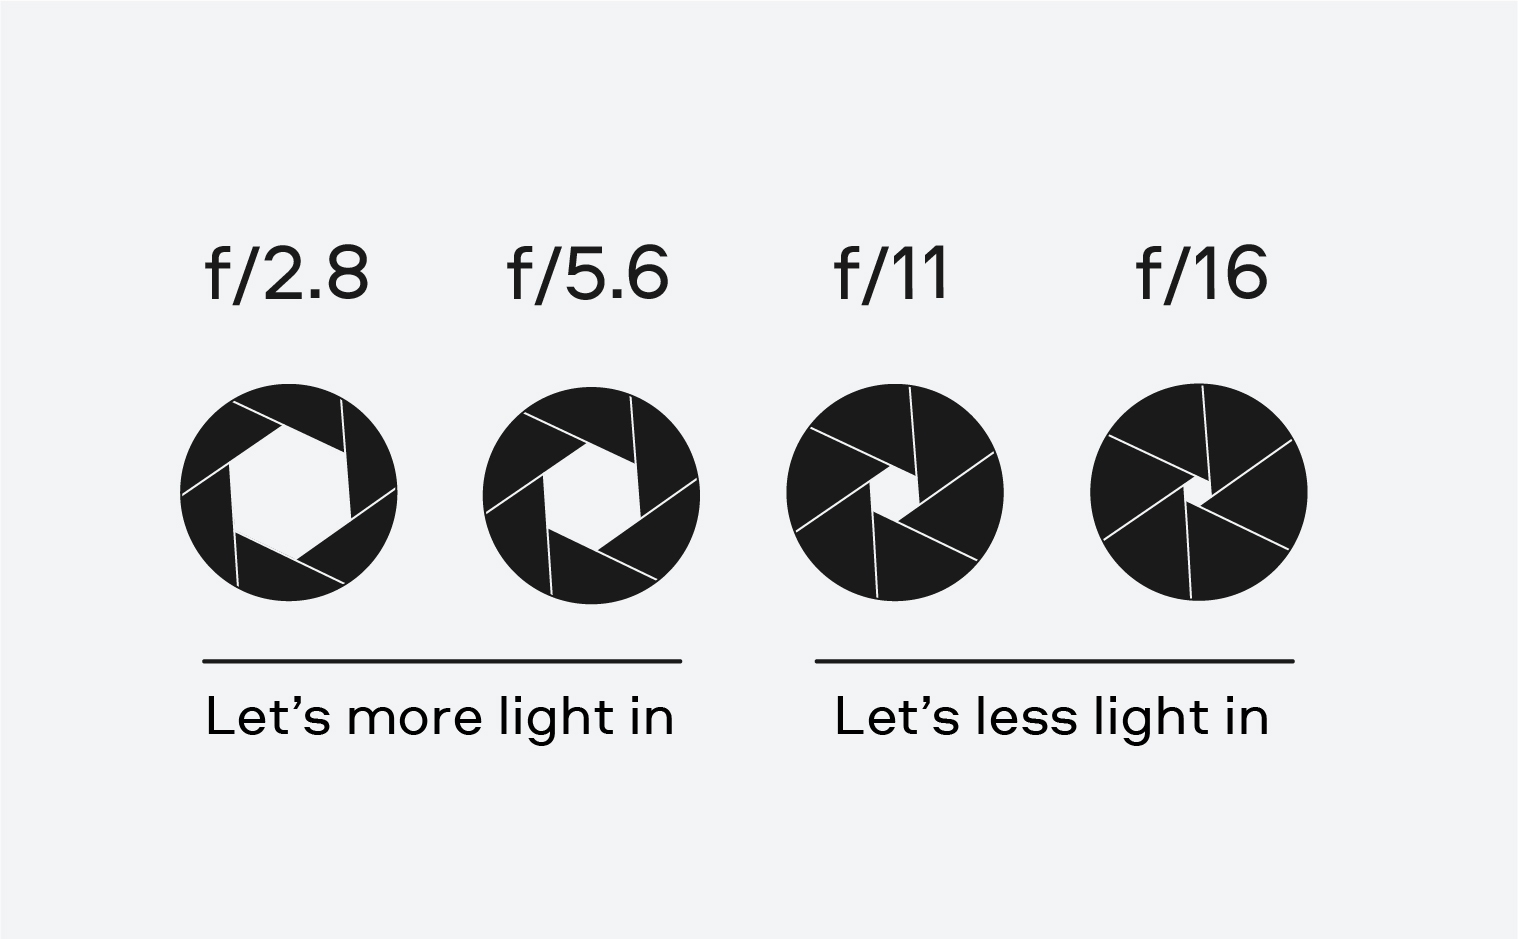
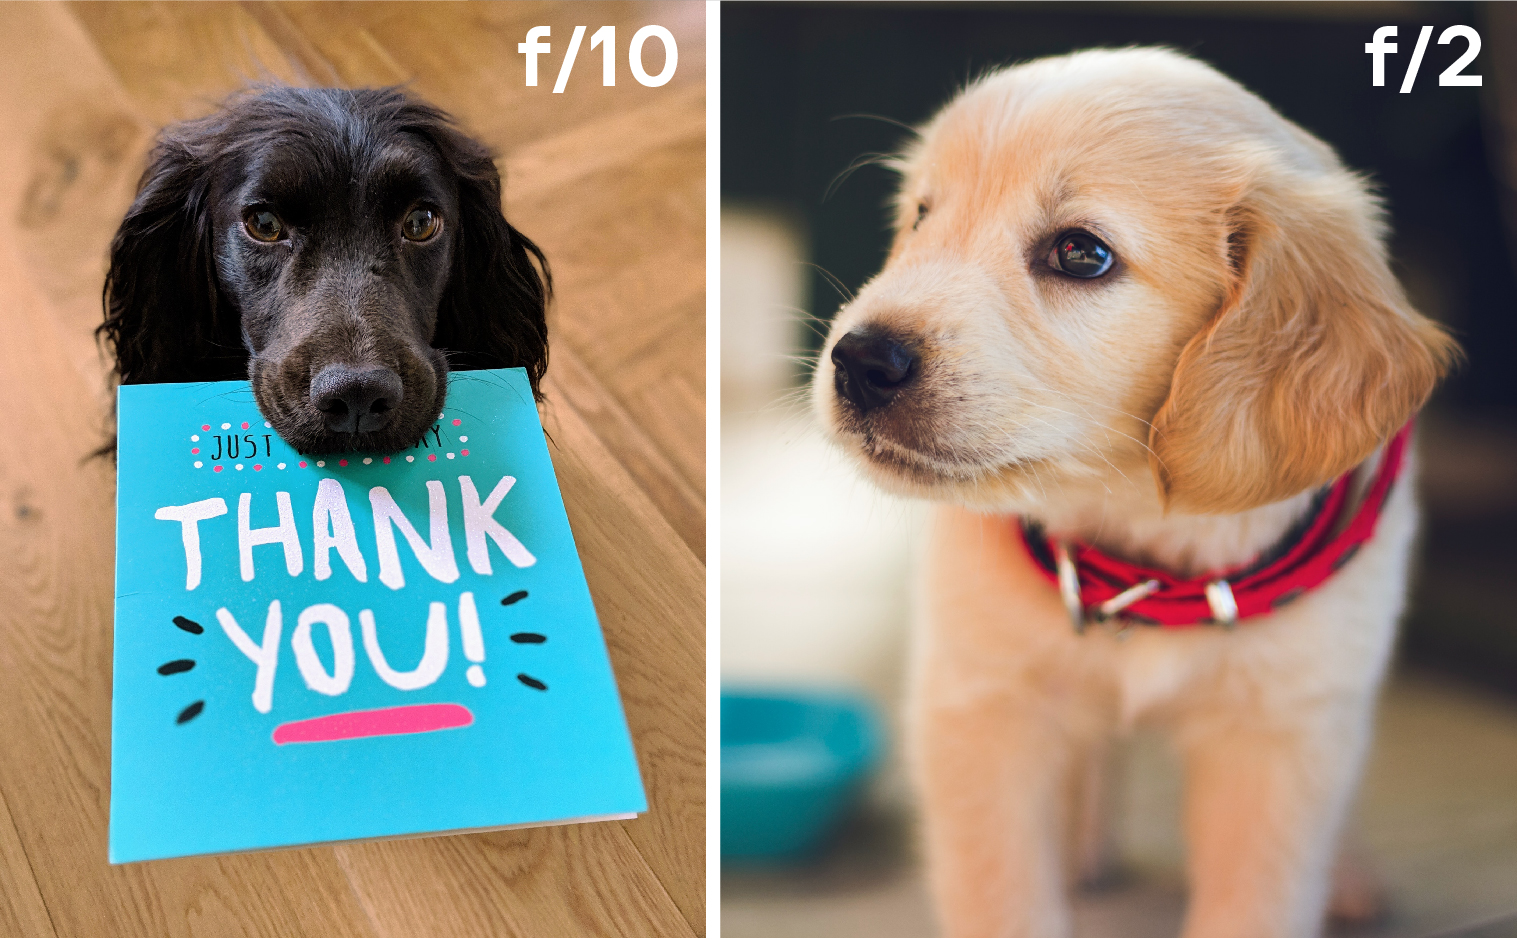
The aperture setting is what keeps your object and background in or out of focus. It also controls the amount of light that enters the lens – or, to put it simply, how large the hole over your lens is. The wider the aperture, the more light passes through and the more shallow the depth of field. This setting can be changed either by twisting a little wheel on the camera or directly on the lens, depending on your device.
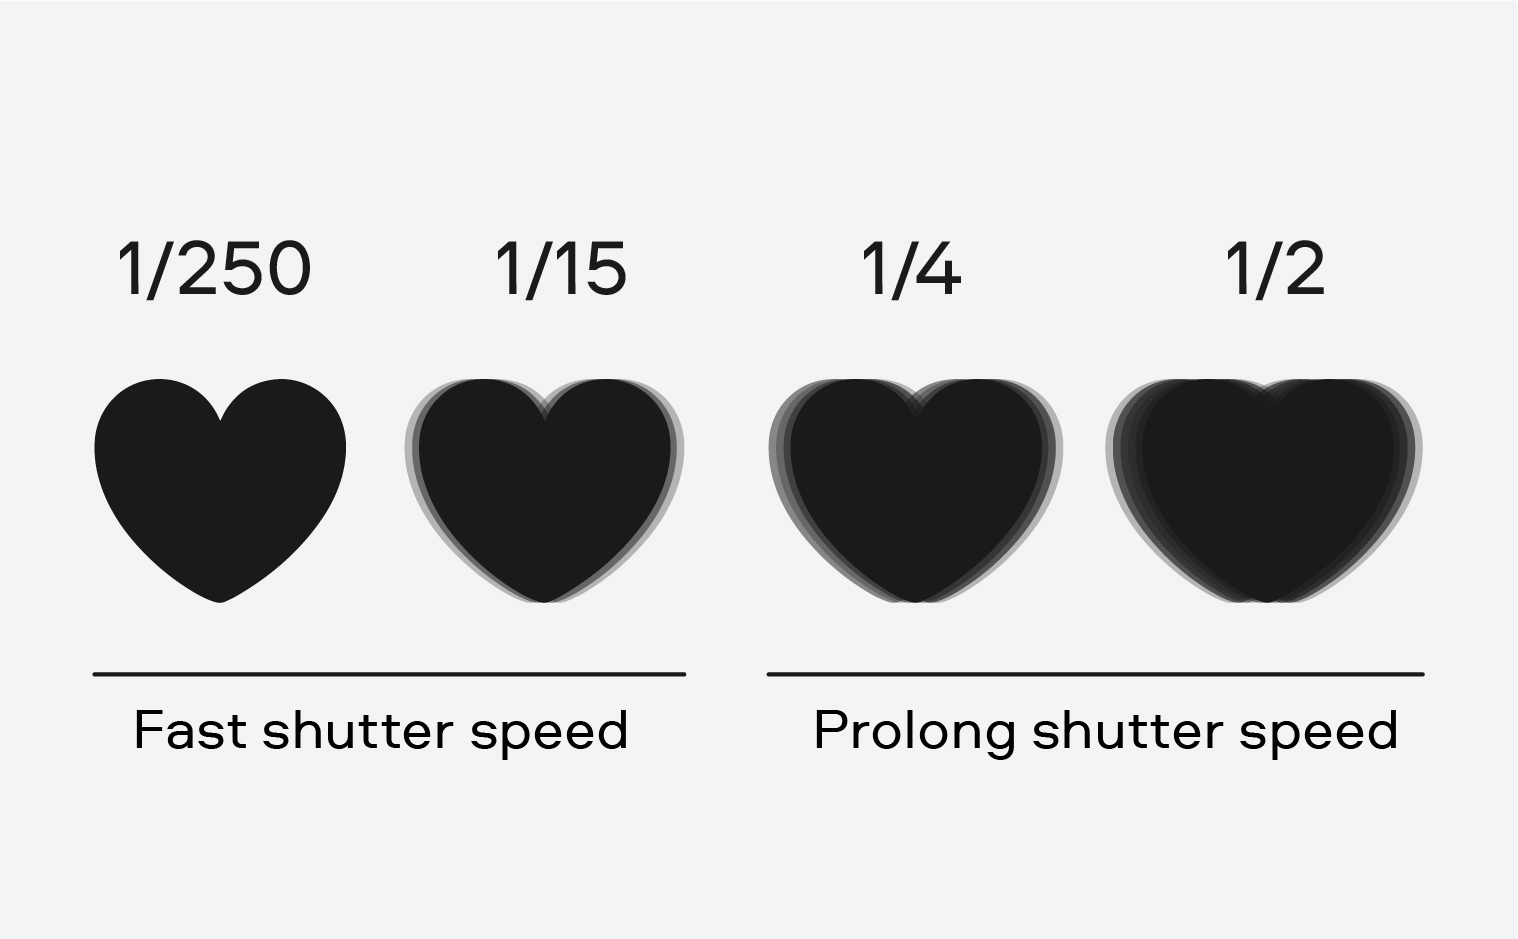
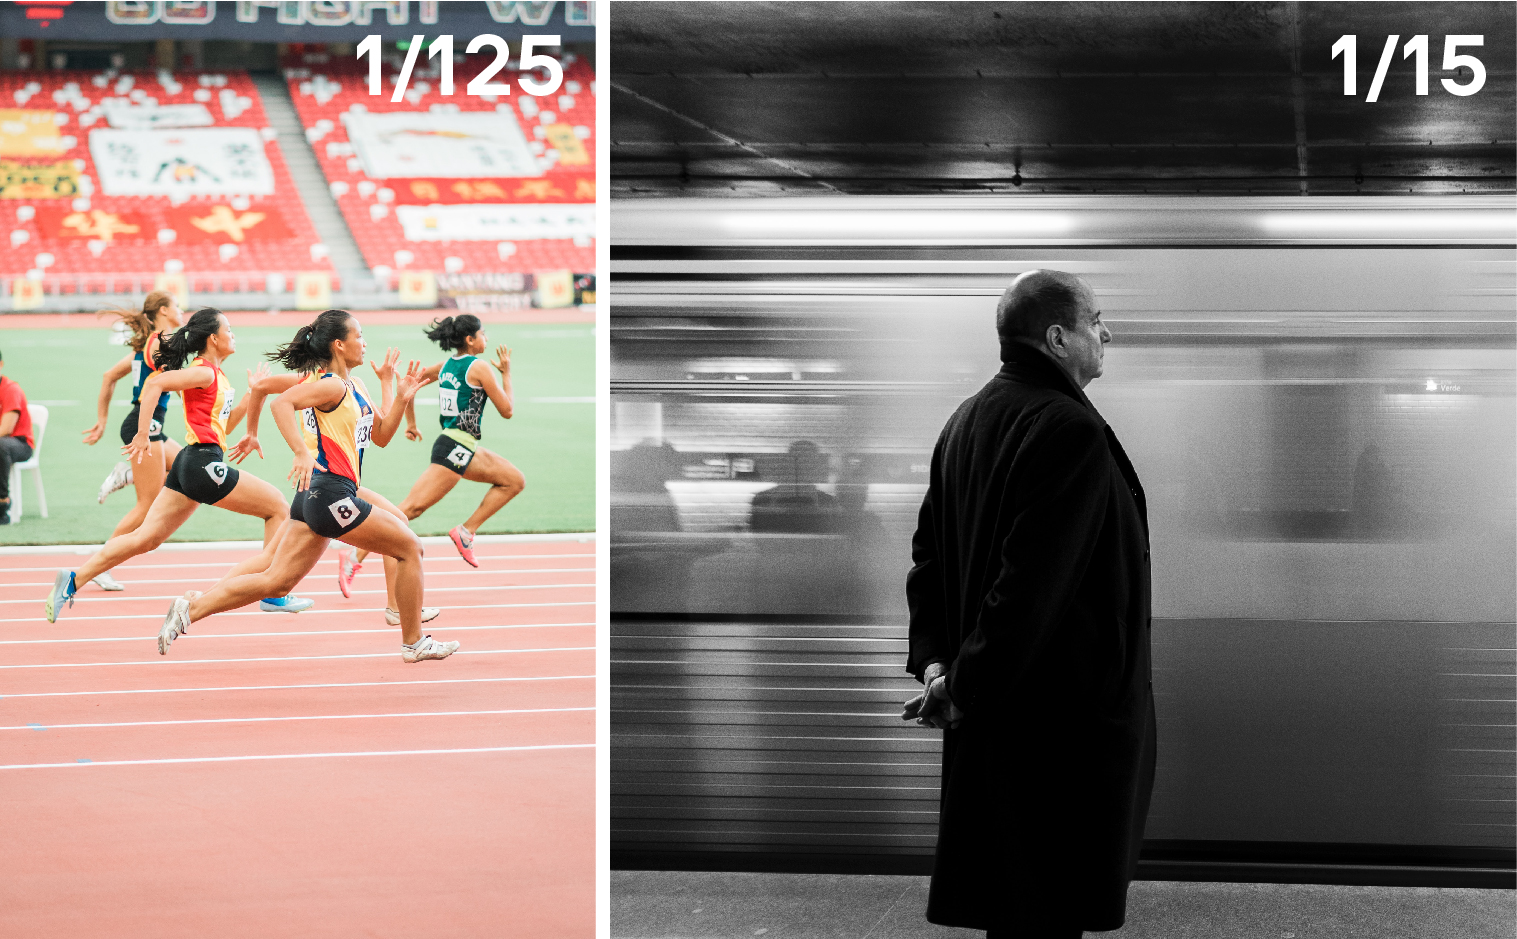
The shutter speed defines how long the sensor is exposed to light. This also influences the brightness of your picture. Shutter speed is the first thing to change when you’re preparing to shoot moving objects: the faster the movement, the faster your shutter speed should be. On the other hand, if you want the details of your picture to appear softer and blurrier (say, if you’re capturing raindrops or streams of water), you’ll want to extend your shutter speed up to several seconds.
ISO is a more abstract concept – essentially, it describes your camera’s sensitivity to light. Whenever possible, it’s best to shoot on a lower ISO because the higher the ISO, the grainier and noisier your picture will be. Only bump up your ISO when you’re shooting in lower light conditions.
These three main camera settings form the exposure triangle – the fundamental trio that every photographer should master. The optimal combination of these parameters will enable you to take the best pictures in any given conditions.

Now let’s have a look at how to apply this knowledge to your camera.
This mode enables you to take control over the aperture while your camera determines the shutter speed and ISO. This is a particularly useful feature for shooting portraits and close-ups.
Whenever you want to affect the depth of field in your shot, you can change the aperture. The smaller the number, the more blurred your background will be.
As you might guess, this mode allows you to change the shutter speed, leaving the rest of the exposure triangle to your camera. It’s particularly important that you set the shutter speed manually if you’re trying to capture moving objects.
Shutter speed is measured in fractions of a second (e.g. 1/40, 1/125, 1/2000). The smaller the number (or the bigger the number after 1/), the better your camera will freeze the action.
If you’re looking to experiment with longer exposure modes (over a second), it’s best to use the full manual mode and adjust all the settings yourself.
You can leave your camera in manual mode and set it to auto-ISO. This is a good option for shooting in steady light conditions – for example, when the weather is cloudy or a whole room is lit evenly.
If possible, it’s best to set limits for your ISO range. For normal daytime shooting, the optimal range would be somewhere between 100 and 1,600.
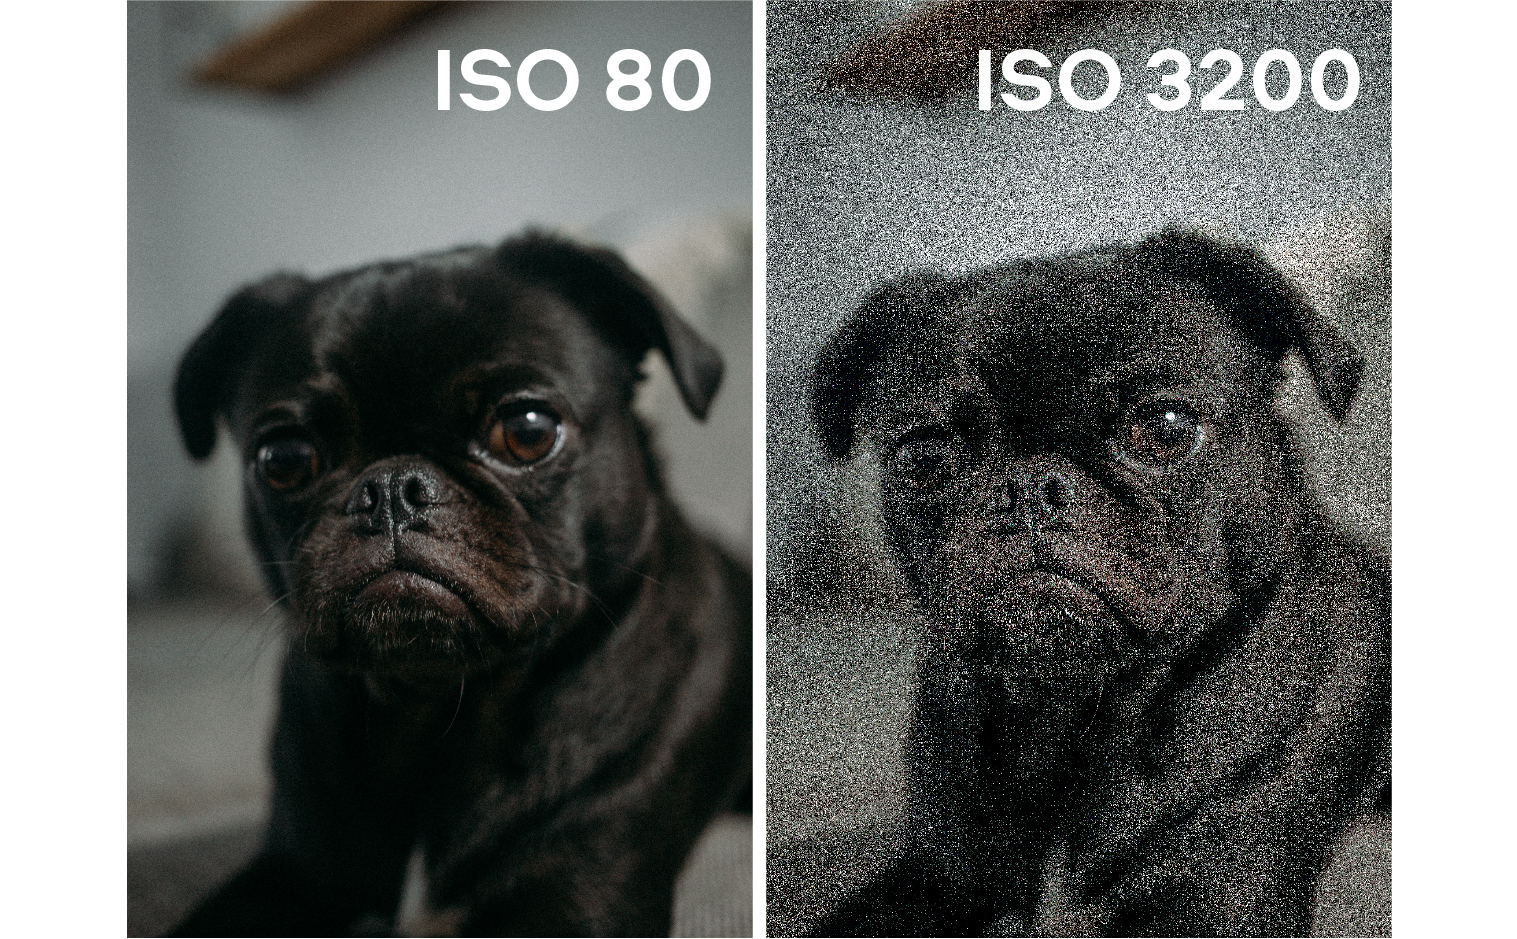
If you don’t trust your camera to adapt to existing light conditions around you, it’s best to set the ISO manually. As a general rule, these are the best settings to stick to:
Don’t increase the ISO too much unless it’s absolutely necessary, as your pictures will turn out uneven – unless you’re looking to achieve a retro effect with some extra noise and grain.
Just like exposure, your focus settings can be partly or fully automated.
This mode implies that you trust your camera with guessing what you’d like to focus on – which is not always a reliable strategy. Whenever possible, it’s best to take care of adjusting the focus yourself.
Spot focus mode lets you place a focal point on the desired subject. To do this, you usually need to press the shutter button halfway down until your lens focuses in the right place. Then you can press the button all the way down.
In addition to setting the focus on one specific detail, you can also add more focal points to the area you want to appear sharp. This way, you have a larger area to focus on. There are, however, certain drawbacks to this mode, as the camera still has to figure out for itself where exactly it has to focus.
If you’re capturing a moving object, continuous focus is the option to choose. While single focus mode only focuses on one particular point, continuous focus enables your camera to track the subject and keep it sharp.
Some manufacturers also give their device a hybrid mode, which automatically switches between Single Area Focus and Continuous Focus Mode. This is particularly handy in those cases when you don’t know exactly when your subject will start moving. This mode is usually marked as «AF-A» on Nikon and «AI Focus AF» on Canon cameras.
If you’ve been reading our blog for a while, you will have come across this term when we were explaining how to set up a video camera. White balance refers to the color of the light: it can be either warm or neutral. It’s crucially important to adjust your white balance to the lighting conditions of your surroundings, as otherwise your colors will come out wrong: they’ll look artificially blueish or yellowish.
Modern cameras are mostly good at detecting the temperature of the light, so it’s very rare that you can’t get away with setting your white balance to automatic mode.
We will not go into various scene mode on this occasion, as the options will vary depending on the camera you own. It’s important to understand that a scene mode is basically full auto mode set to the particular conditions you’re shooting in. In other words, you’re telling your camera what you’re capturing, and then you trust it with the rest.
The most practical way to figure out what works best on your camera is, quite predictably, to experiment for yourself. However, it can be worth starting with some ready-made formulas and see how you can improve on them. Here are a few options to start with:
This set of adjustments works well in most cases when you’re working in natural light and your subjects are not moving too fast.
Now you’re good to go out and practice!
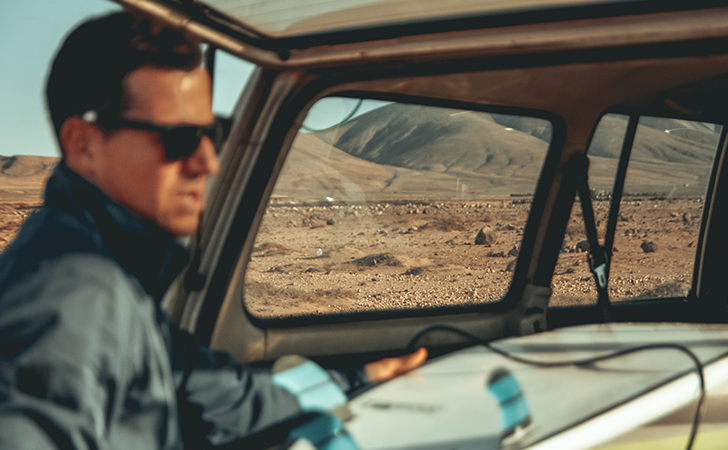
Street photography is a great way to experiment with semi-automatic modes. However, if you’re eager to get into manual settings, here are some formulas that are likely to work.
For sunny weather:
For cloudy weather:
For both options, we suggest keeping the white balance in auto mode.
The first thing to remember with portrait photography is that your aperture should relate to the number of people you have in the shot. The breakdown is as follows:
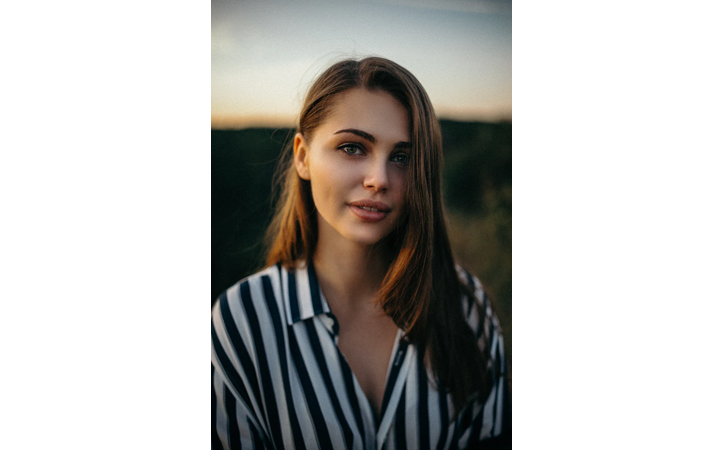
As for shutter speed, what seems to work best is a number that is twice the focal length of your lens, commonly known as the size of the lens (35mm, 50mm and so on). The longer the focal length, the more likely it is that your camera might shake a little. To avoid disturbing the sharpness of your portrait, make your shutter speed faster. If you have a 50mm lens, try starting with 1/100 (85mm = 1/170, 135 mm=1/270).
Your ISO should be 100-400 in the daylight or 400-800 on a cloudy day. When shooting indoors, keep it at 800-2000 in a bright interior and over 2000 in a dimmer environment.
Consider opting for longer exposure (which means decreasing the shutter speed), increasing the ISO, and opening up the aperture. Try starting with the following settings:
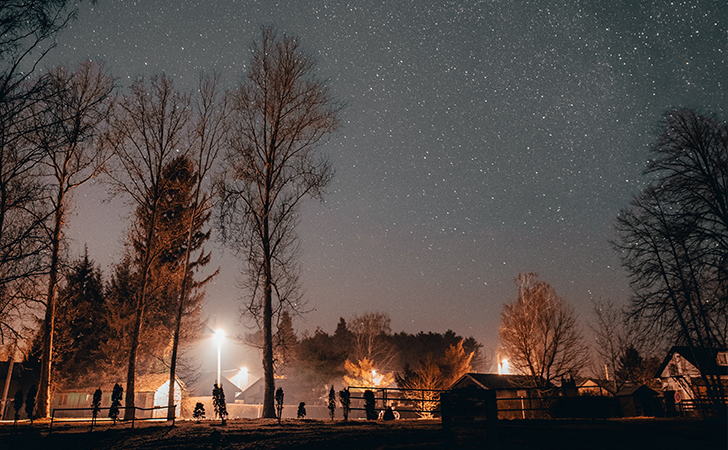
We strongly suggest using a tripod for night photography, as slow shutter speed always implies a risk of shaking your camera.
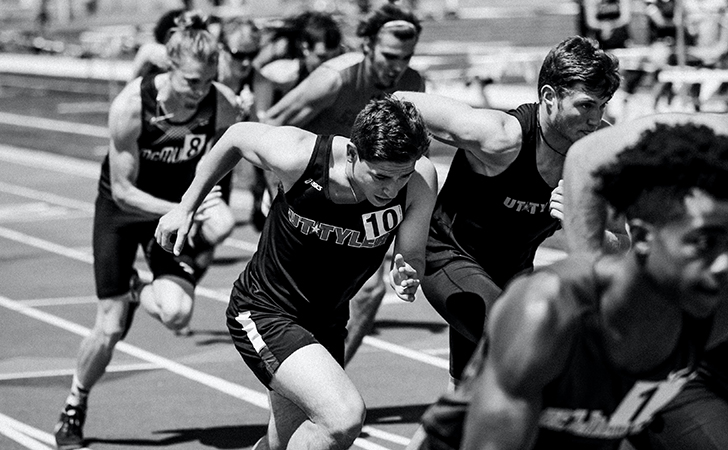
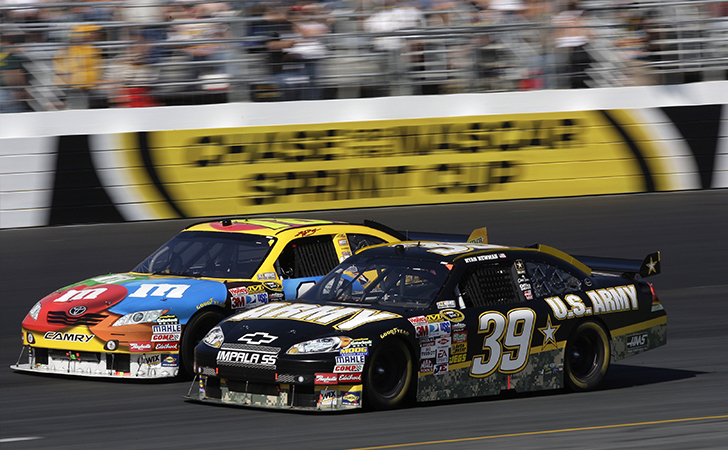
Getting sharp images of moving objects is all about the right shutter speed. While ISO and aperture settings may vary depending on the location and subject, try to keep your shutter speed at 1/2000 – that should be enough to capture most rapid movement.
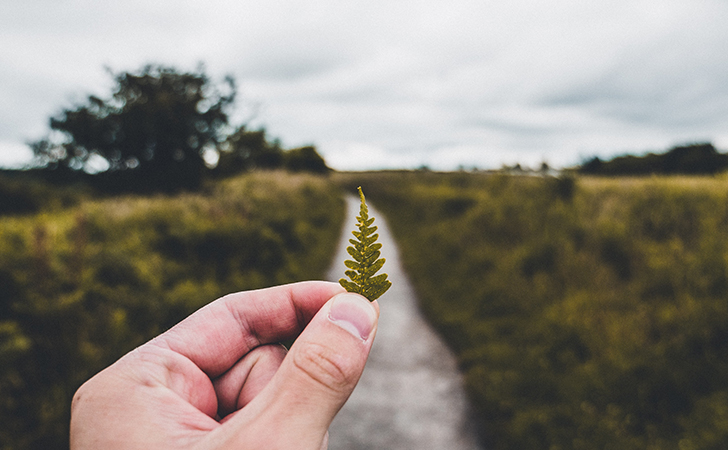
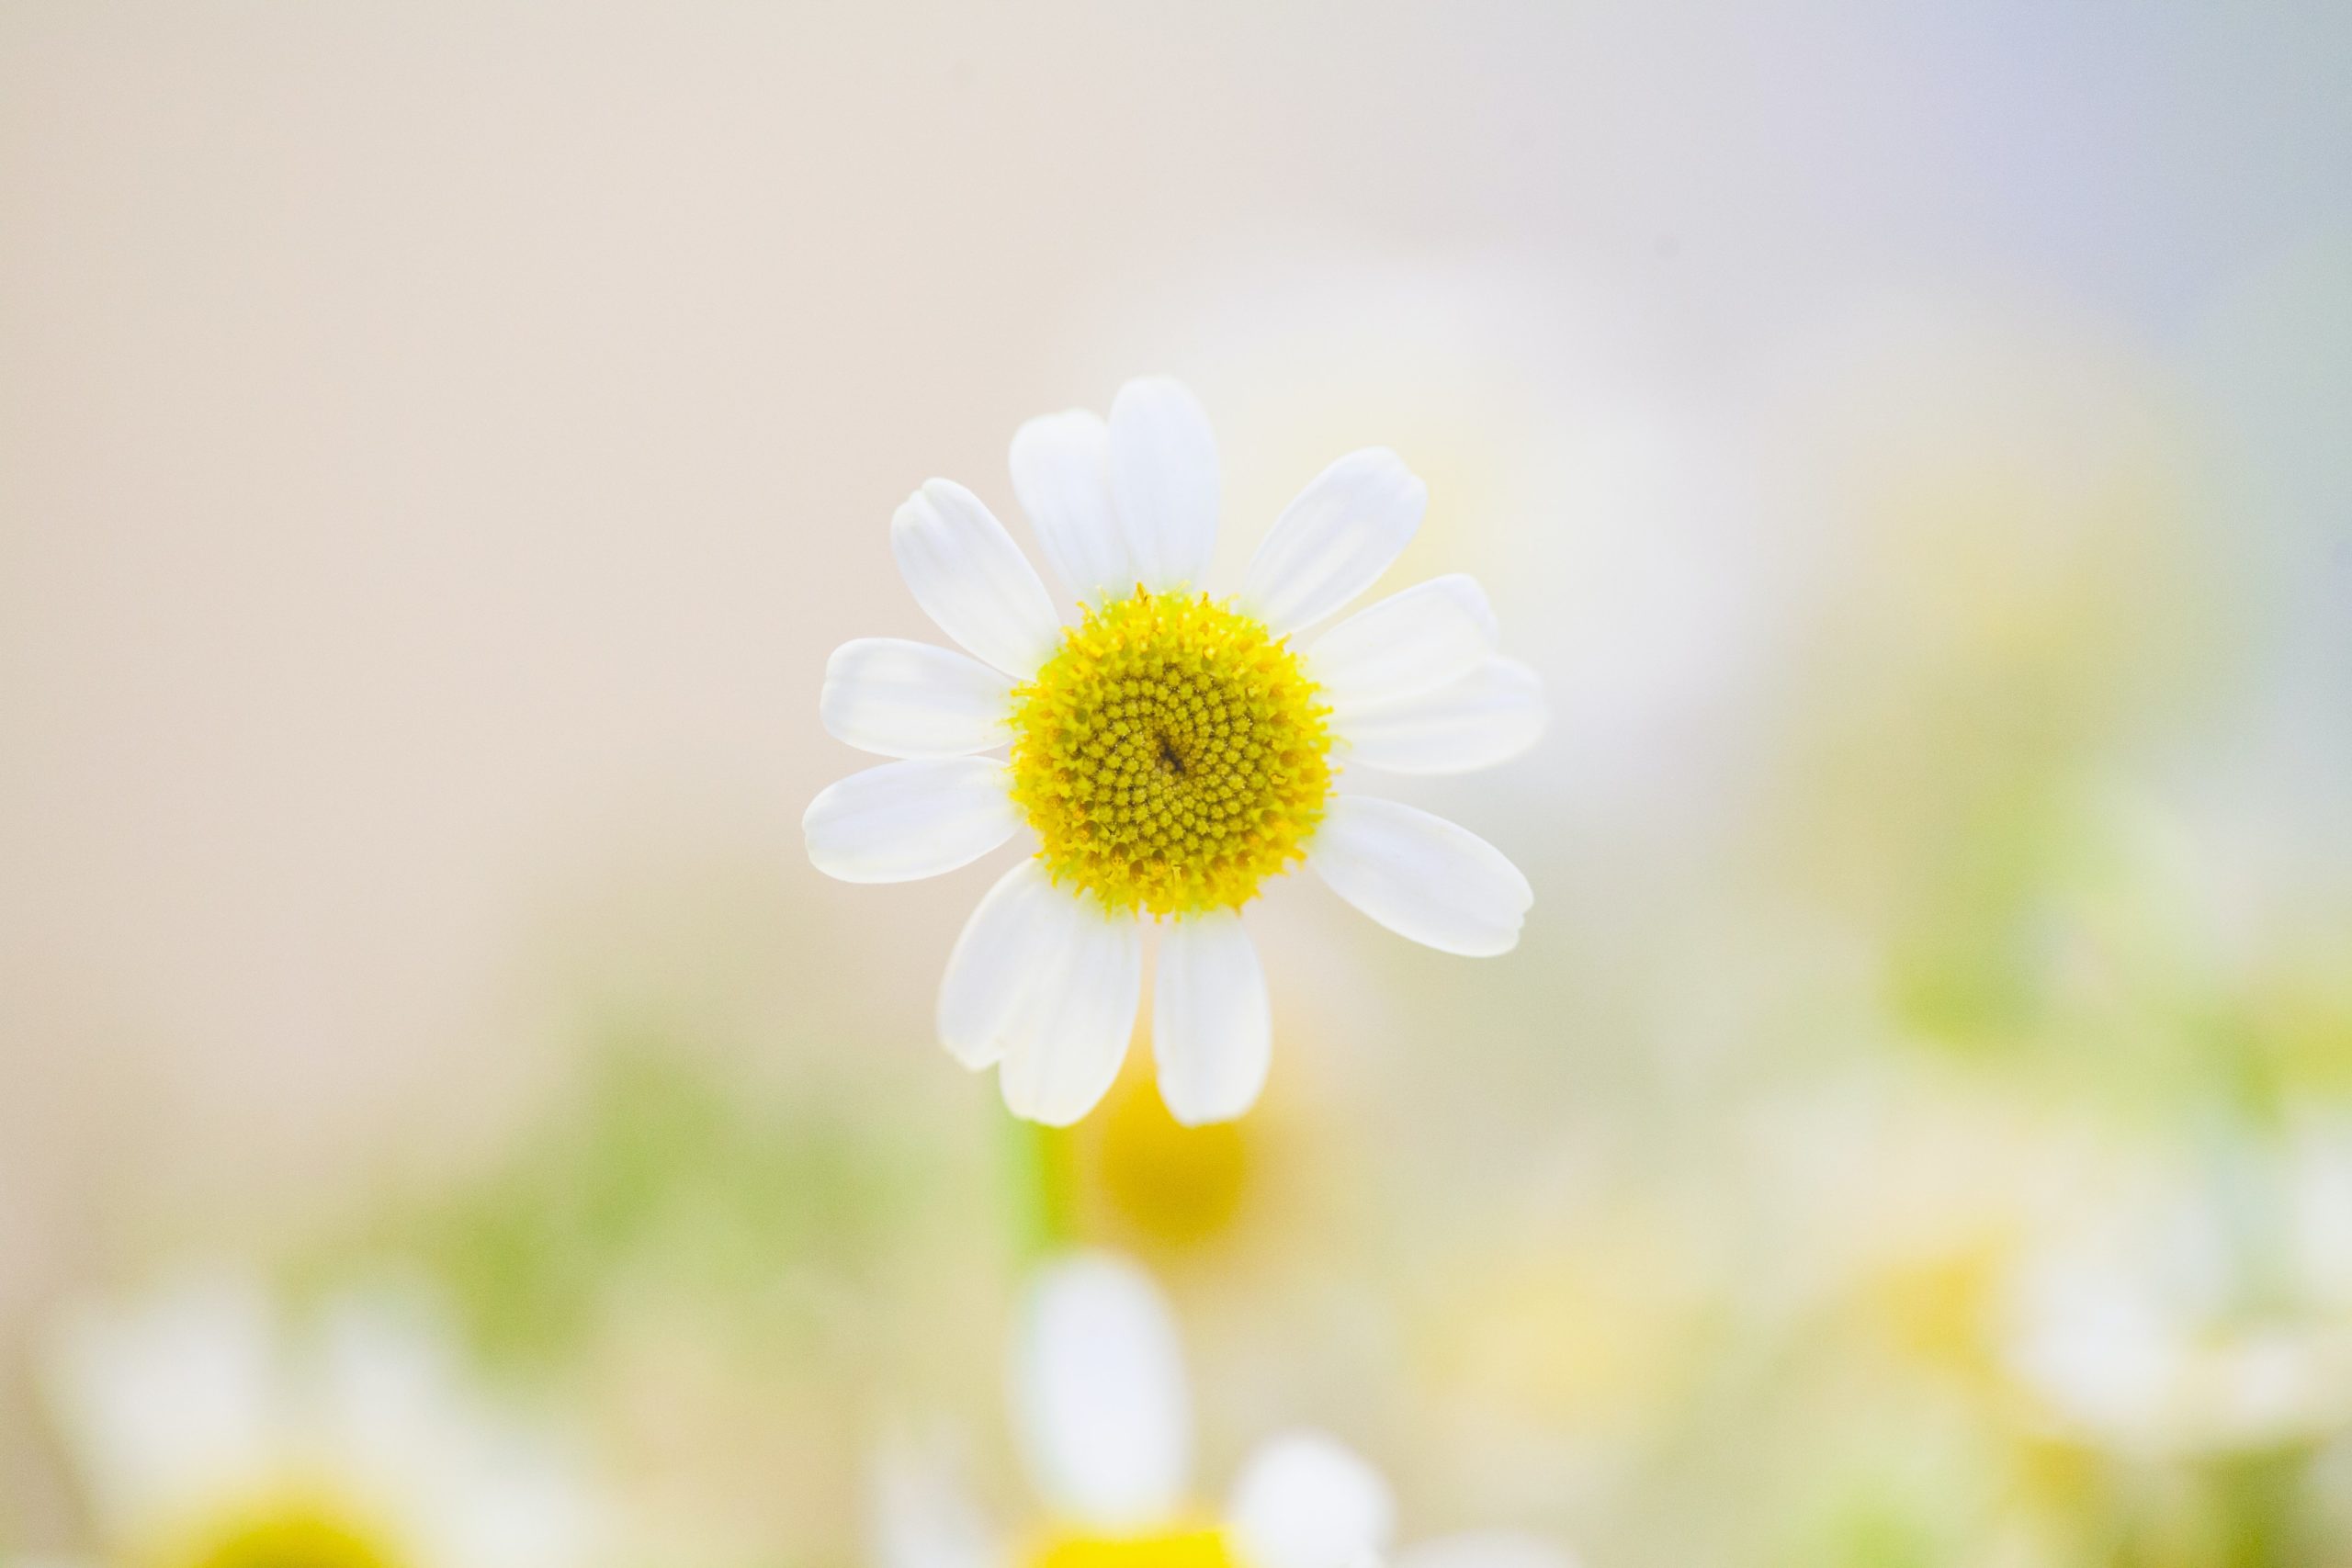
When shooting close-ups of plants, berries and other small subjects, it’s important to isolate them from the rest of the picture. A lower aperture will help you make the background look more shallow. Try starting with these:
Read on to find out more about macro photography in this article.
Choose a moderately fast shutter speed (1/400 would be just fine) and set the ISO to normal daylight conditions (100-200) unless the light level requires you to do otherwise. Your focus may vary depending on how far away the animals are.

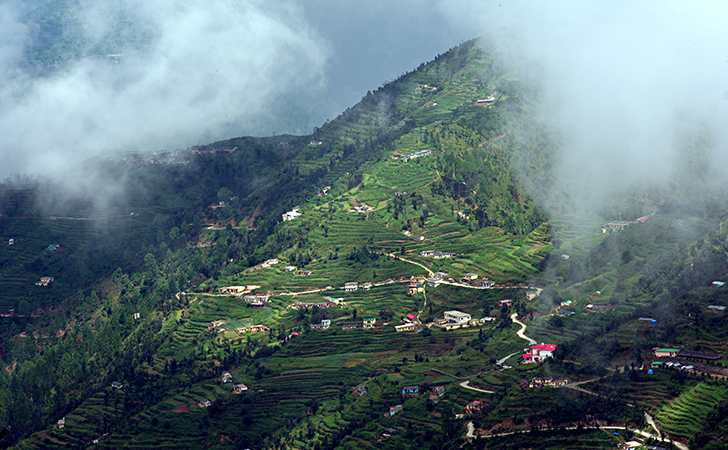
There are many ways to experiment with your settings when it comes to landscape photography. The most basic set of options to start with is:
As long as your subject looks sharp enough, most minor issues with light and white balance can be fixed in a photo editing program. Even film photography these days goes through a digital editing process, so there is every reason to use this approach for improving your pictures.
Most professional photographers use complex software for in-depth editing such as the widely known Adobe Photoshop. However, there are many programs which enable you to do all the necessary editing without having to spend hours trying to figure out how to use it. Movavi Photo Editor is one of the simplest options to master – and it still does a great job when it comes to tweaking and retouching your pictures.
Download Movavi Photo Editor for Windows
Download Movavi Photo Editor for Mac
Mastering photography is indeed quite a challenge, and diving into the settings of your camera is just one of the many steps towards achieving this goal.
Certainly, it’s possible to take decent pictures without being too tech-savvy in that way. After all, it’s the eye of the photographer that matters most, and it’s your ability to build the composition and make the most of what you see that really defines your skills.
However, taking full advantage of the potential of your devices gives you far more room for creativity. You’ll be able to produce far more diverse results with the same camera and even the same subjects – all you change is the buttons you press. The sense of power that you can acquire through this knowledge is absolutely worth the hours you spend practicing. It’s the amount of dedication you show to the art of photography that really brings you closer to becoming a master.
If you’re genuinely interested in photography, you might find it useful to read some articles we’ve already published on related topics:
1. Learn how to get your food photography on point and produce the most delicious photos!
2. Explore something different by trying silhouette photos.
3. How about some useful theory? Check out our article dedicated to Itten’s Color Wheel to improve your photo composition skills!

