


We use cookies to improve the services we offer you. By continuing to browse this site, you consent to keep them in accordance with our Privacy Policy.
×We use cookies to improve the services we offer you. By continuing to browse this site, you consent to keep them in accordance with our Privacy Policy.
×
 5,652
5,652
 12 min
First, answer these simple questions:
If at least one of your answers is “yes”, and you’ve been thinking about a blogging career, then don’t hesitate to start a food blog. And we are here to help you succeed as a blogger.
Below you’ll find the main steps you need to follow when you’re publishing a food blog.
Once you’ve chosen the topic of your blog, it’s time to come up with a blog name.

If you decide to register a domain name, you’ll have to go to a registrar – a service where you can register and buy domain names. There are plenty of registrars to choose from on the Internet. Here are some of them: GoDaddy, Bluehost, Hover, Namecheap.
Choosing a domain name is pretty much the same thing as choosing a blog name. Here are some more tips.
A web host is a service that enables people to access your website any time through any browser. You can choose from the following types of hosting services:
Shared hosting. The idea here is that multiple websites share the same server, which means a lower price than other hosting options. It’s a great choice for first-time hosting customers.
VPS hosting. VPS stands for virtual private server. This type of hosting is divided into virtual servers, which gives site operators greater control at the server level. VPS is the way to go if you need better hosting security but don’t want to invest in dedicated hosting. In addition to being cheaper, virtual servers are also easier to manage. For example, hosting providers like ScalaHosting equip theirs with control panels, letting you install WordPress on a VPS with a couple of clicks and start work on your project right away.
Dedicated hosting. An entire server is at your disposal. No need to share it with other websites. Maximum control, great server performance. This option is good for those websites that need lots of server resources and security.
CMS is software that enables site operators to create, edit, and publish web content. The most popular open source CMS platform is WordPress, and it’s a great place to start if you’re new to website creation. The platform offers different customization options and a selection of basic plugins.

Now you’re almost ready to open your food blog! Add at least 10 recipes with delicious food images, GIFs, and videos. Make and follow a plan for your posts. Don’t forget to add new content every week.
Start promoting your food blog via your social media accounts (you might manage Instagram accounts, Facebook, Twitter, or Tumblr). Make sure your friends share the link with their friends. This way, you can quickly multiply the number of your potential readers.
Publish cooking videos on YouTube and share the link to your blog posts below the video. You should never stop looking for new ideas if you want to become popular and successful in this competitive business!

When you finally have a reliable audience and good levels of traffic, you can start making money from your blog. The easiest way is to accept advertising using Google AdSense. Just choose the ad and the place on your site where you want it to appear. Then, all you need to do is copy and paste a block of code to your food blog. When users click the ads, you get paid. As your audience grows, you can publish your own cookbooks, submit food articles to magazines, or even sell your best recipes.
Now you know how to become a food blogger!
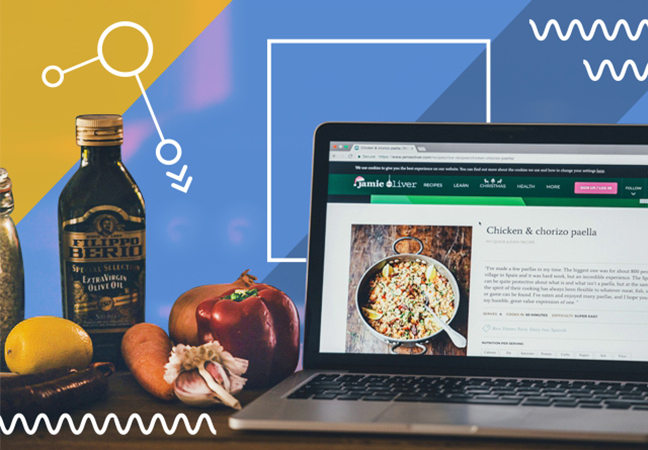
Read the next part of the article to learn how to take pictures of food so that no one will be able to resist trying your recipe.
Food photography is one of the hottest types of photography these days. Not only cafes and restaurants take advantage of these photos, but also bloggers and food lovers.
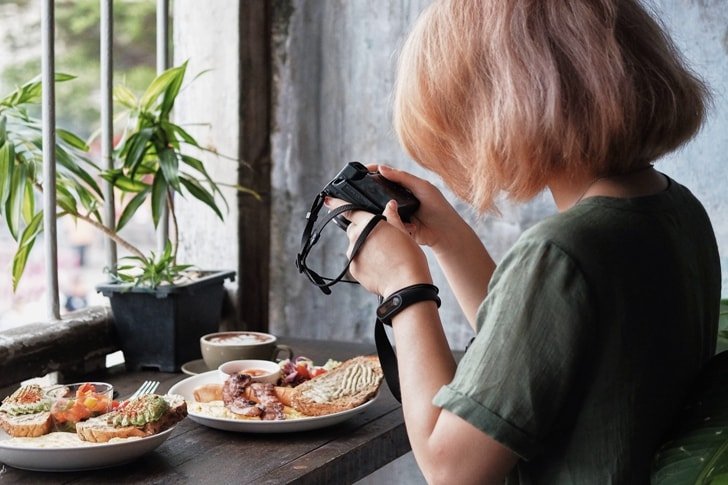
If you want to take cool pictures of food, you’ll need lots of practice. Remember that food images are more than just plates of food. They’re also about lighting, composition, photo editing, and other aspects that we’ll cover below.
You don’t necessarily need the best camera for food photography. Professionally-looking photos can be taken even on a smartphone camera. However, it is always important to have the right equipment.
The lens you use for food pictures has a big impact on the final image. Choose fixed lenses if you’re looking for something cheap and light yet effective. Zoom lenses offer the zoom in and out function, which means you don’t have to physically move closer or further away from your object. A tilt-shift lens is a good option for those who like creating a blur effect and adding focus to important parts of the image.
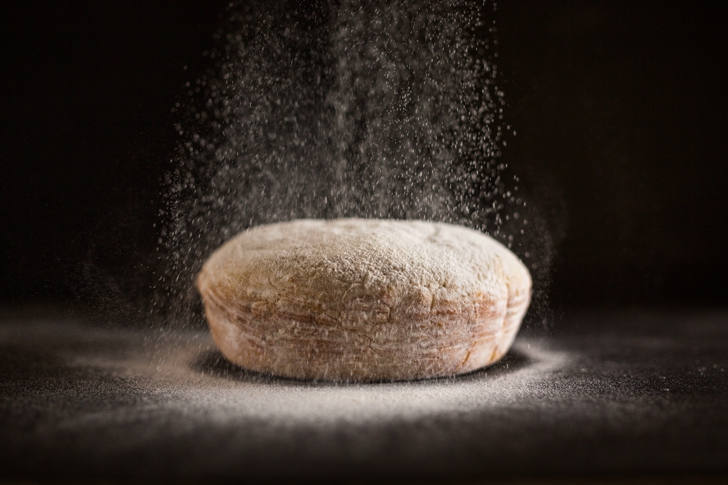
Lighting is the key to successful food images. Sometimes, natural lighting is not enough to create a high-quality picture. That’s why it’s crucial to have studio lighting. Note that a simple household lamp is not an option – it’s very likely to add an ugly yellow tint to your photos.
Do you want to know how to photograph food in low light conditions? We have the answer – just use a tripod! This tool is a must if you don’t want grainy or blurry images when you shoot at night or in a dark room. Tripods can be also useful when you need to show your hands in the frame.
If you want to know more about tripods, then you can read the article on ShotKit.
A reflector is a white surface that is used to bounce light back onto a subject and get rid of shadows. It’s really helpful when shooting in the daylight. You can buy a professional photographic reflector or use a white sheet or paper, depending on the size of your subject.
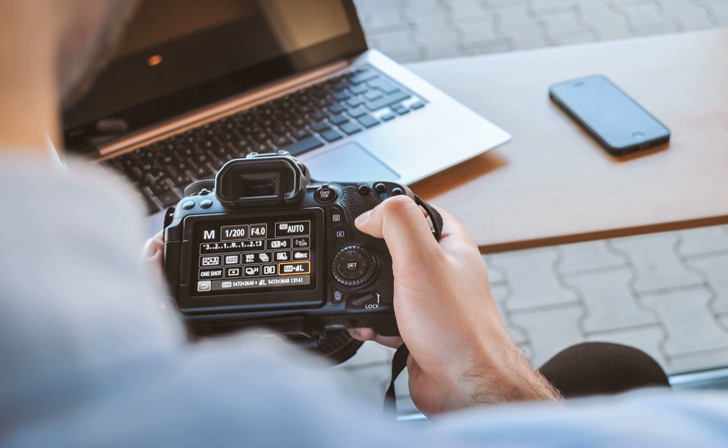
Don’t shoot in automatic mode. Your pictures will never meet your expectations. We recommend you adjust the settings manually to achieve the best results.
Set the white balance to tweak the colors in your images. This setting helps change the color temperature in a photo. Using a warmer white will make your food pictures more appetizing.
Adjust the depth of field to show more or fewer parts of the image in focus. Food photographers usually opt for shallow depth of field, which means only a small part of the picture is in focus. This effect works especially well with textured foods like pasta dishes.
One of the factors that affect the depth of field is an aperture (f-stop). Shoot wide open (low f-stops) to draw attention to a particular detail. With higher f-stops, each element in the picture will be in focus.
The more natural the light, the better the food images. That’s why window light is usually the best choice for food photography. To take dynamic and vivid pictures, place your dish so that the light illuminates it from a slight angle or from behind. On the other hand, lighting from the front can turn your juicy steak into a flat and unappealing slab of meat.
Play around with camera angles. Some dishes benefit from a 45-degree angle, for example, drinks or a tall dish of ice cream. Others look best shot from above. This is the case if you want to show how the food is arranged. Side-shots are perfect for emphasizing the texture and details of a slice of cake. Shoot from the side if you want to keep the focus on specific layers.
Don’t forget about composition. Vary the background – change tablecloths and cutting boards. Surround your dish with accessories like forks and knives, cute napkins and even raw ingredients. Add a book, laptop or another element to build the story you want to share.
Before taking pictures, make sure your dishes are clean and flawless, especially if you’re serving food on white plates. Taken close up, every imperfection will show, and your dish may look messy and incomplete.
Hopefully, you’ve learned how to take good food pictures! Now let’s proceed to food photo editing tips.
No matter how good you are at shooting food, you’ll still have to post-process the images to make them look their best on the screen.
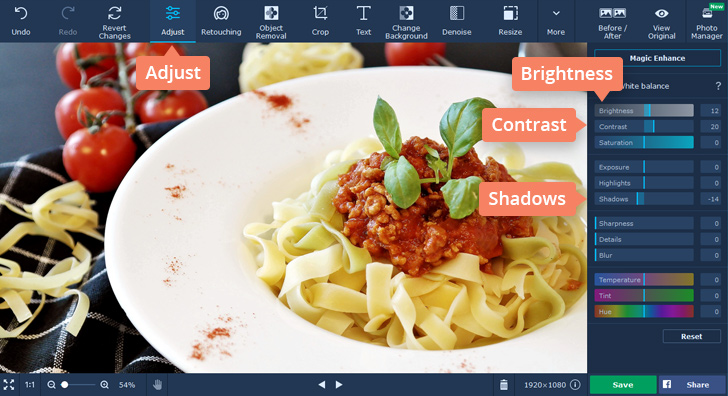
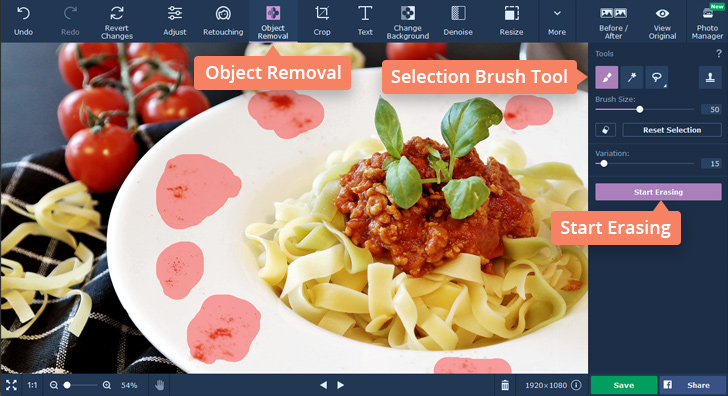
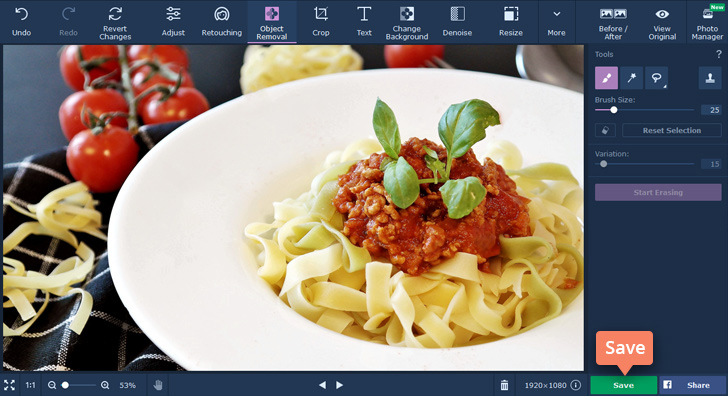
Movavi Photo Editor is a simple yet powerful program for editing your photos. Try the food photo editor from Movavi to make your pictures really pop.
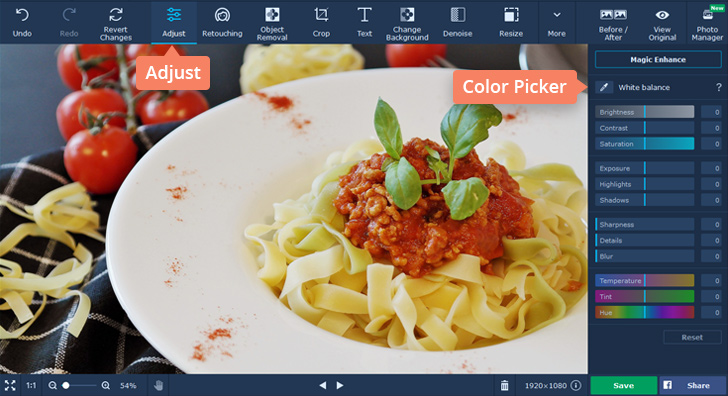
Editing food photos by hand can eat an entire afternoon. AI food photography tools like FoodShot take a plain phone snap of a real dish and sort out the lighting, background, and framing in about ninety seconds, then hand it back sized for your blog, menu, or social feed. It’s the fastest way to make everyday food shots look professional without a camera or a studio.


